This demo app demonstrates some of the initial key features exposed by the SAFE Network (Public ID, Public Data and Private Data).
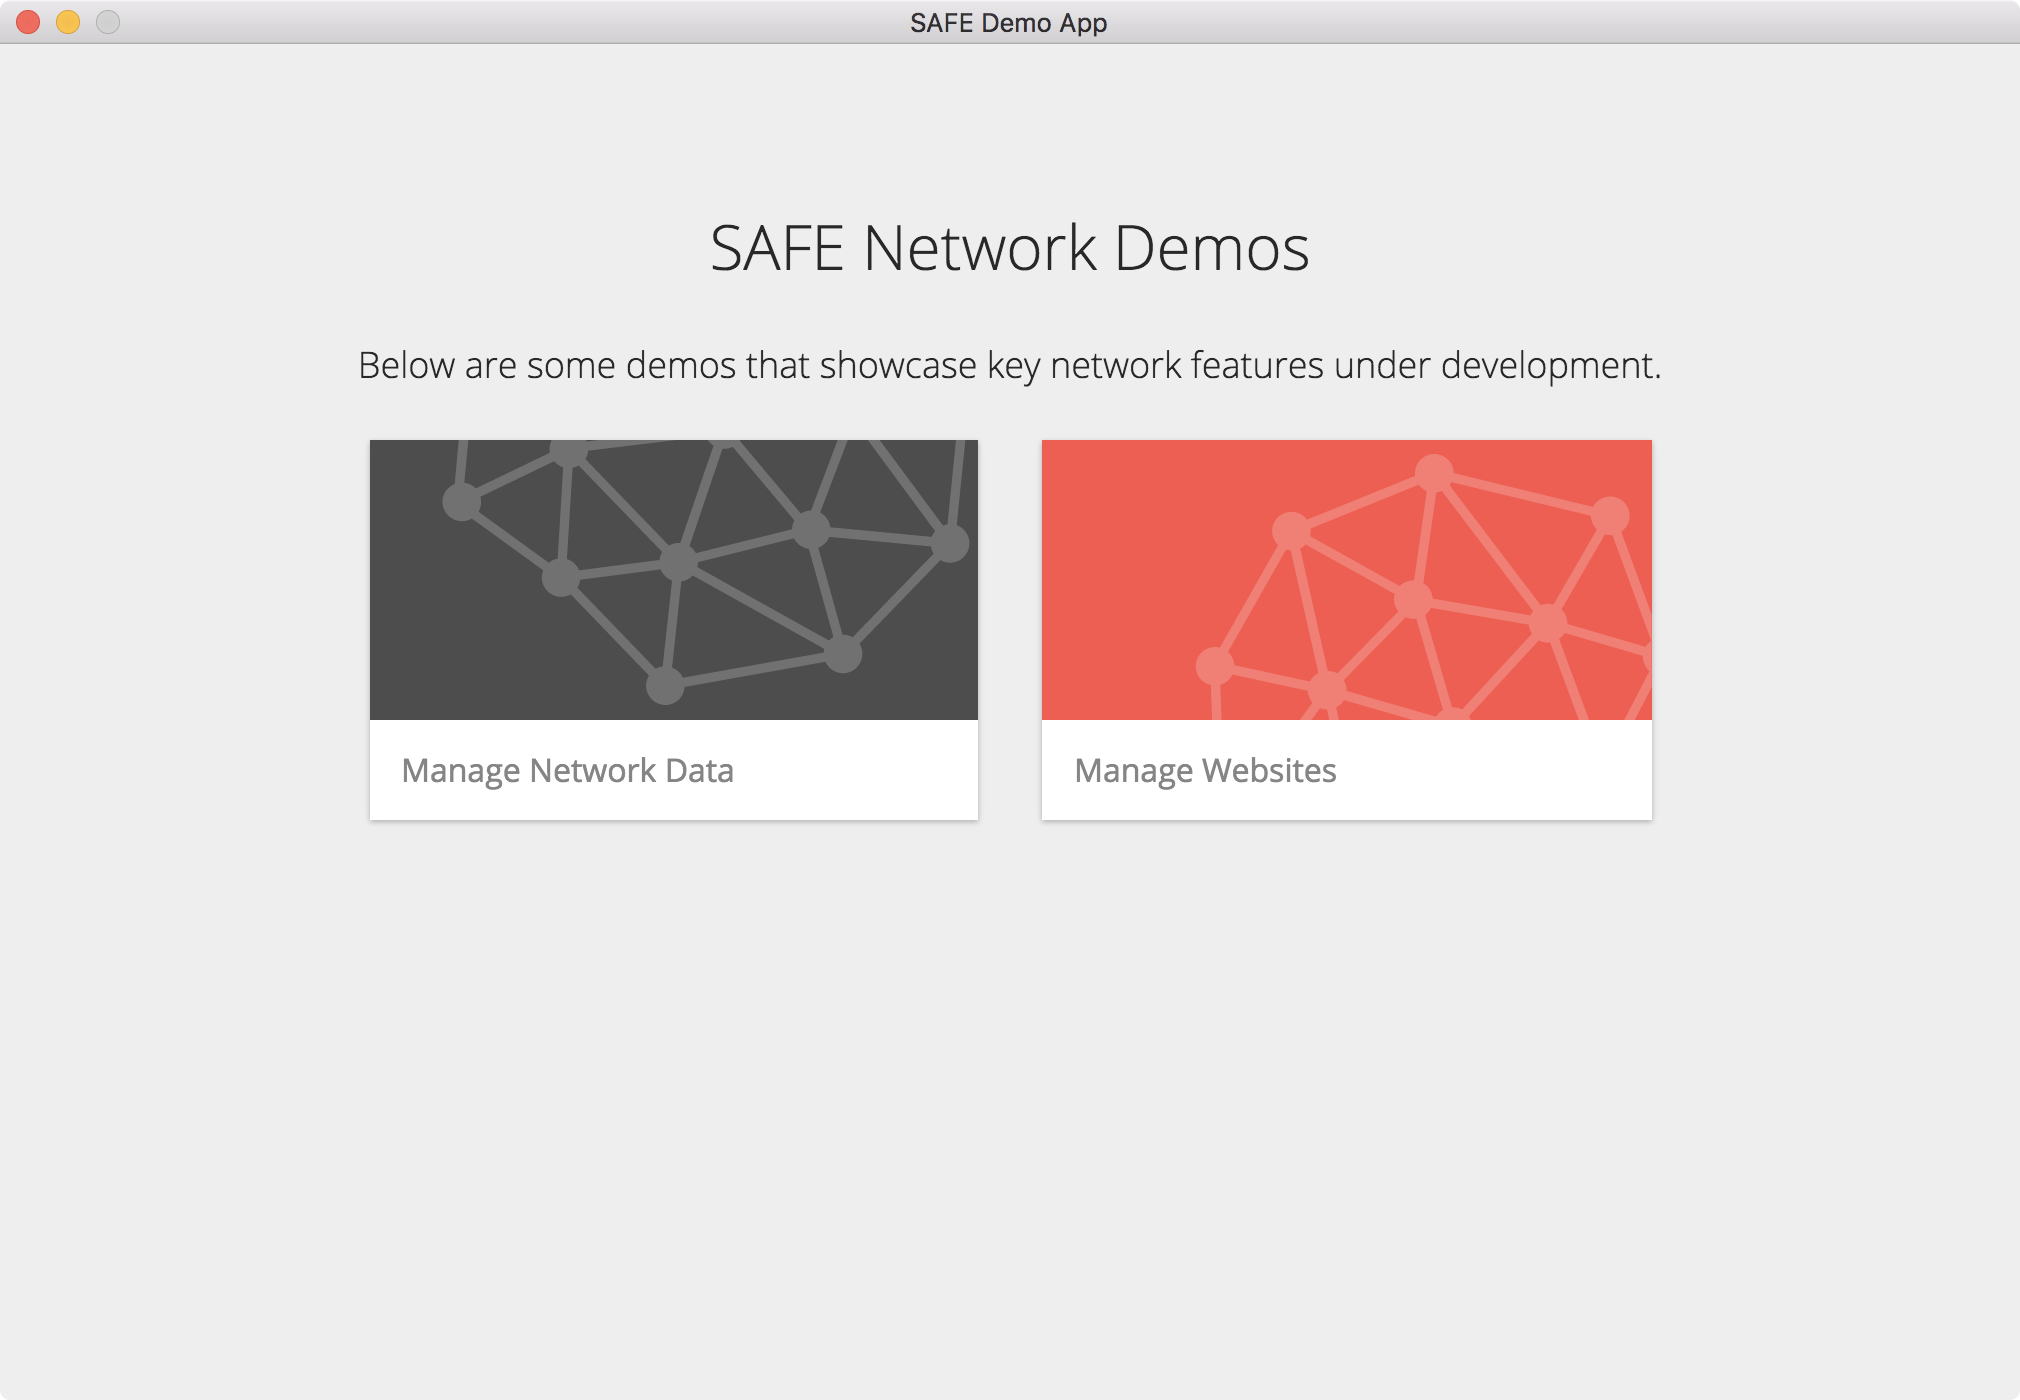
Manage Network Data
Click on Manage Network Data to upload private and public data to the SAFE Network.
Current limitation
When uploading files using SAFE Demo App, the maximum file size is 25 MB per file.
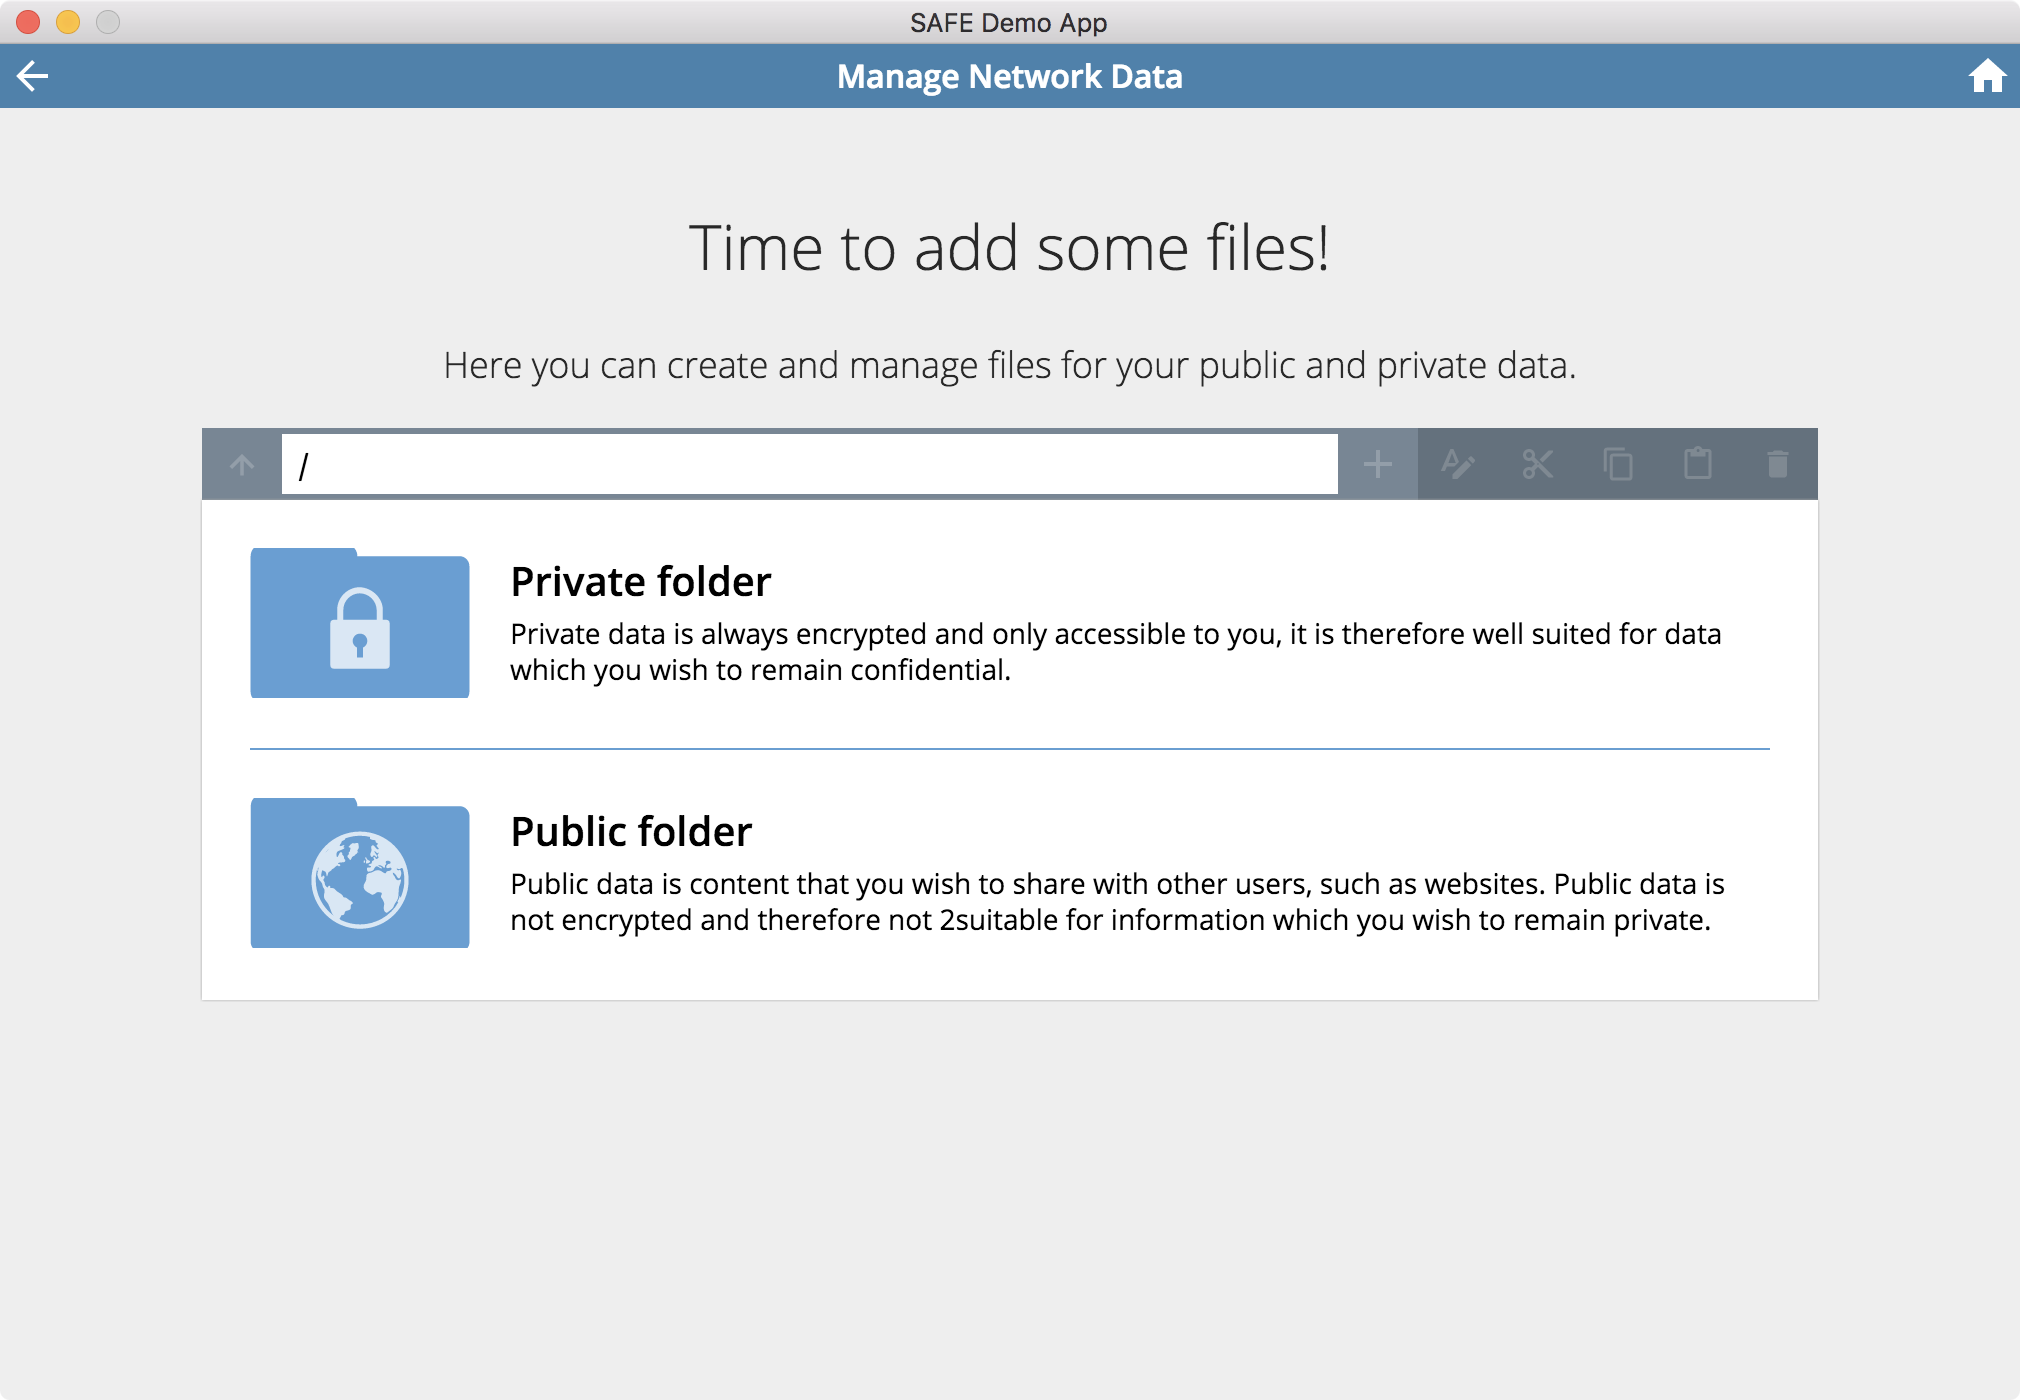
Upload Private Data
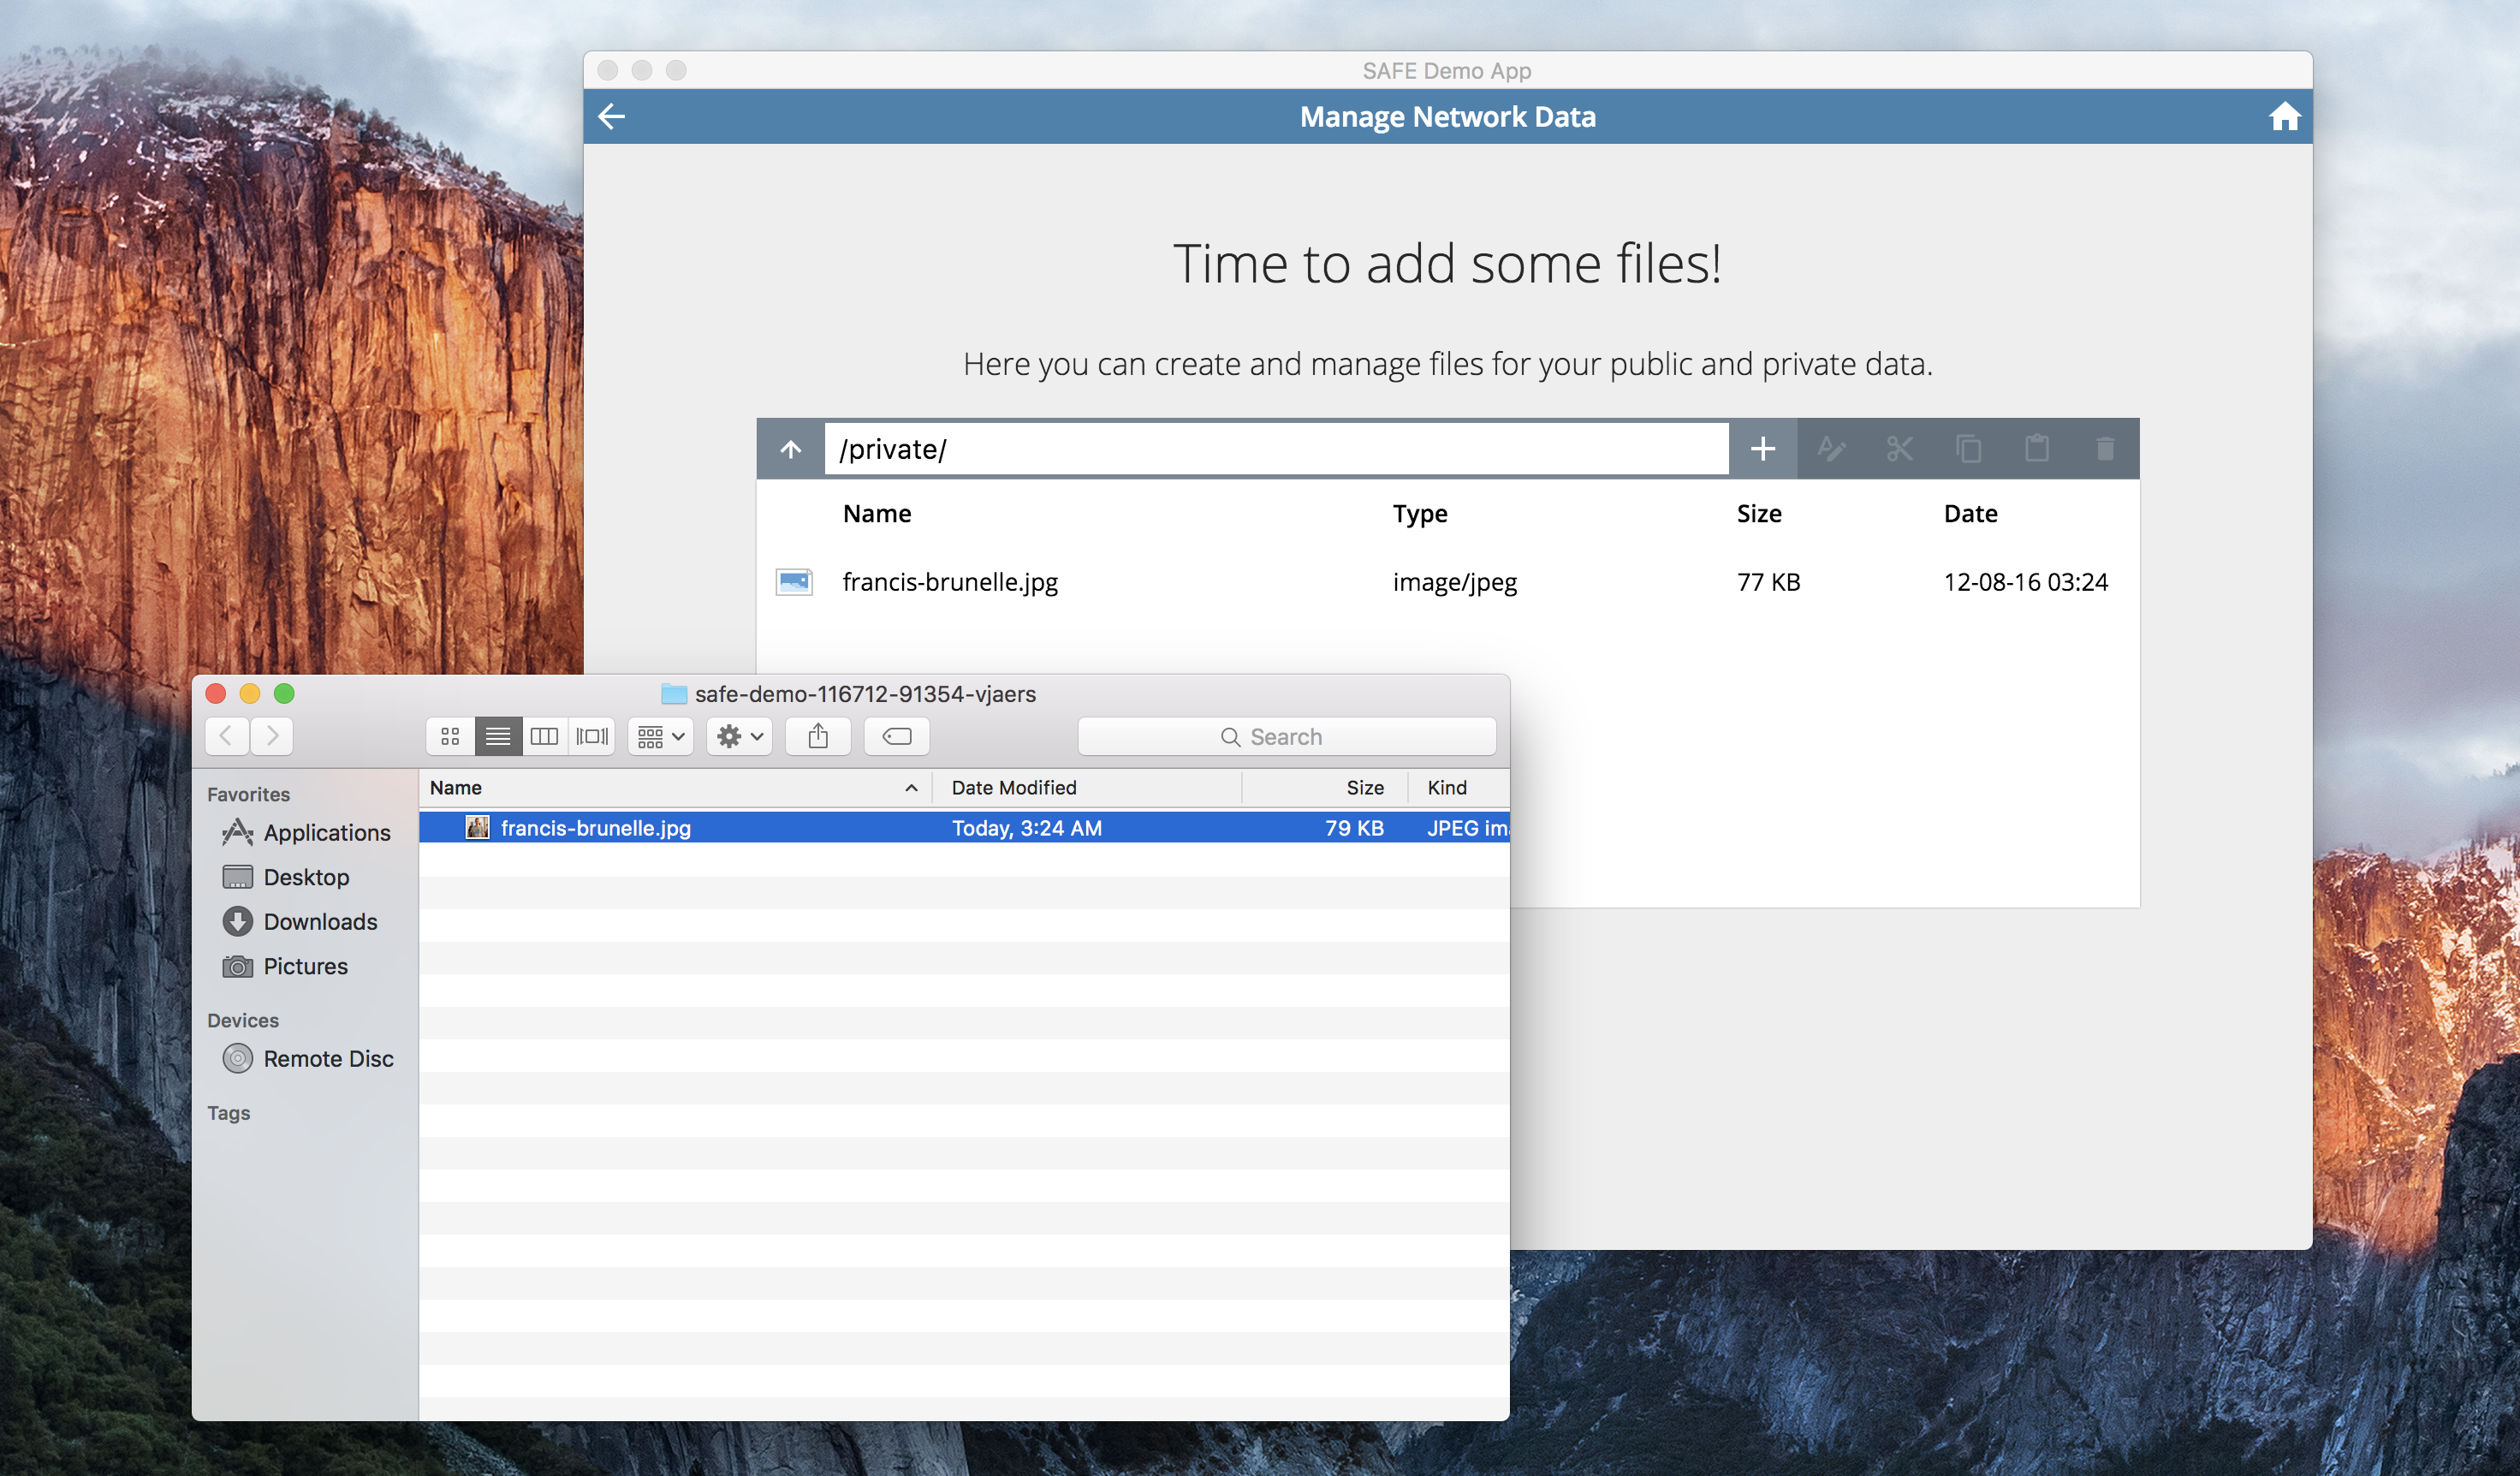
Click on Private folder to access your private data. Then click on the + sign to see a dropdown menu with two options: Upload Directory and Upload File.
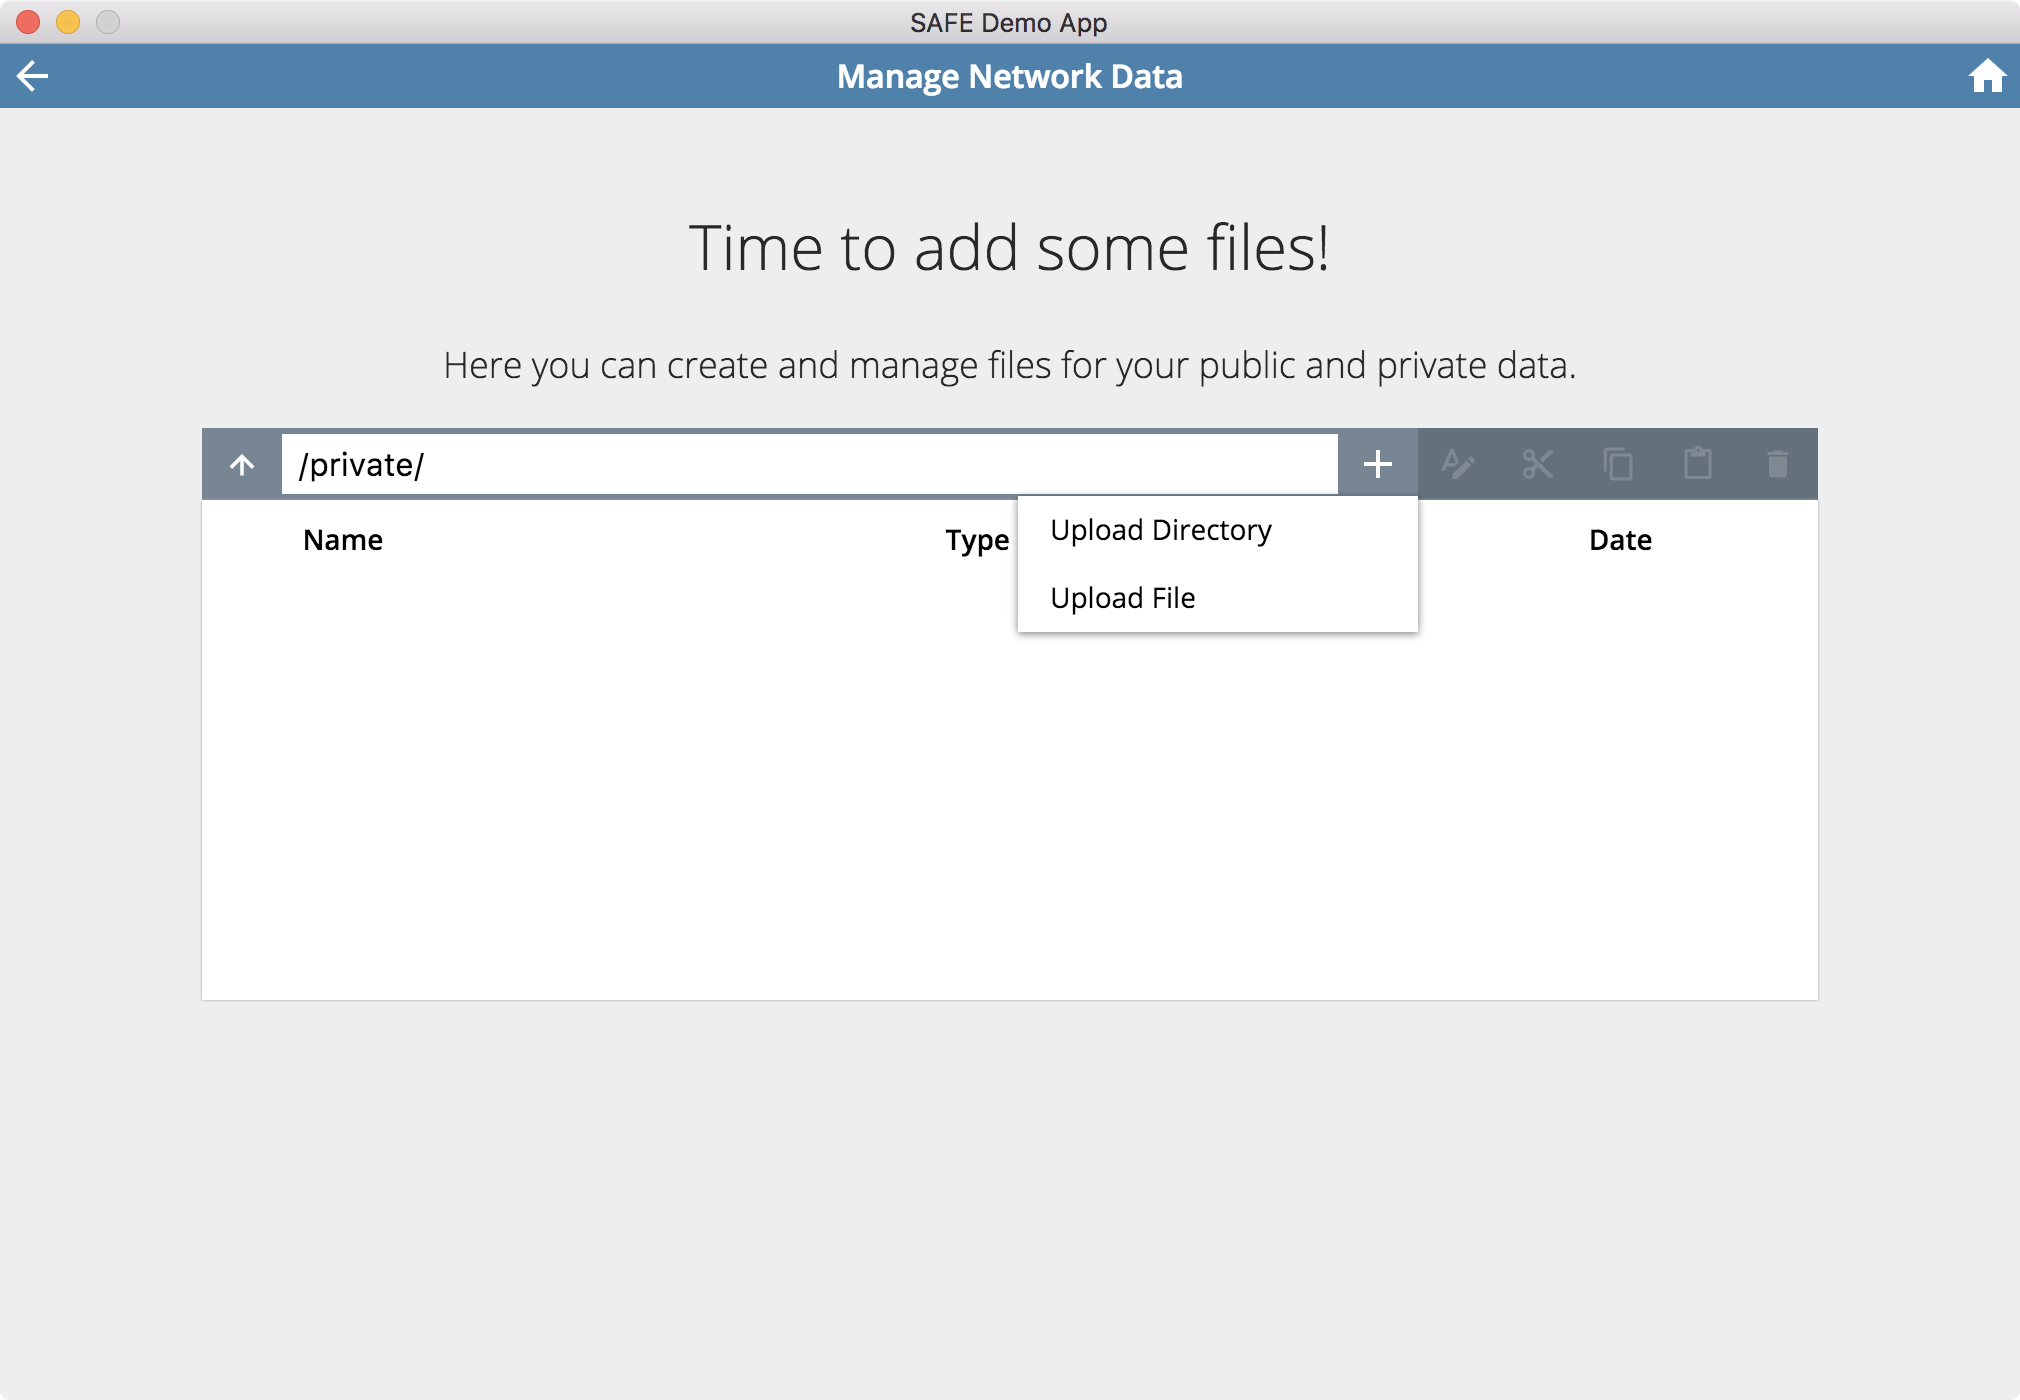
To upload a file, click on Upload File and select the file you want to upload.
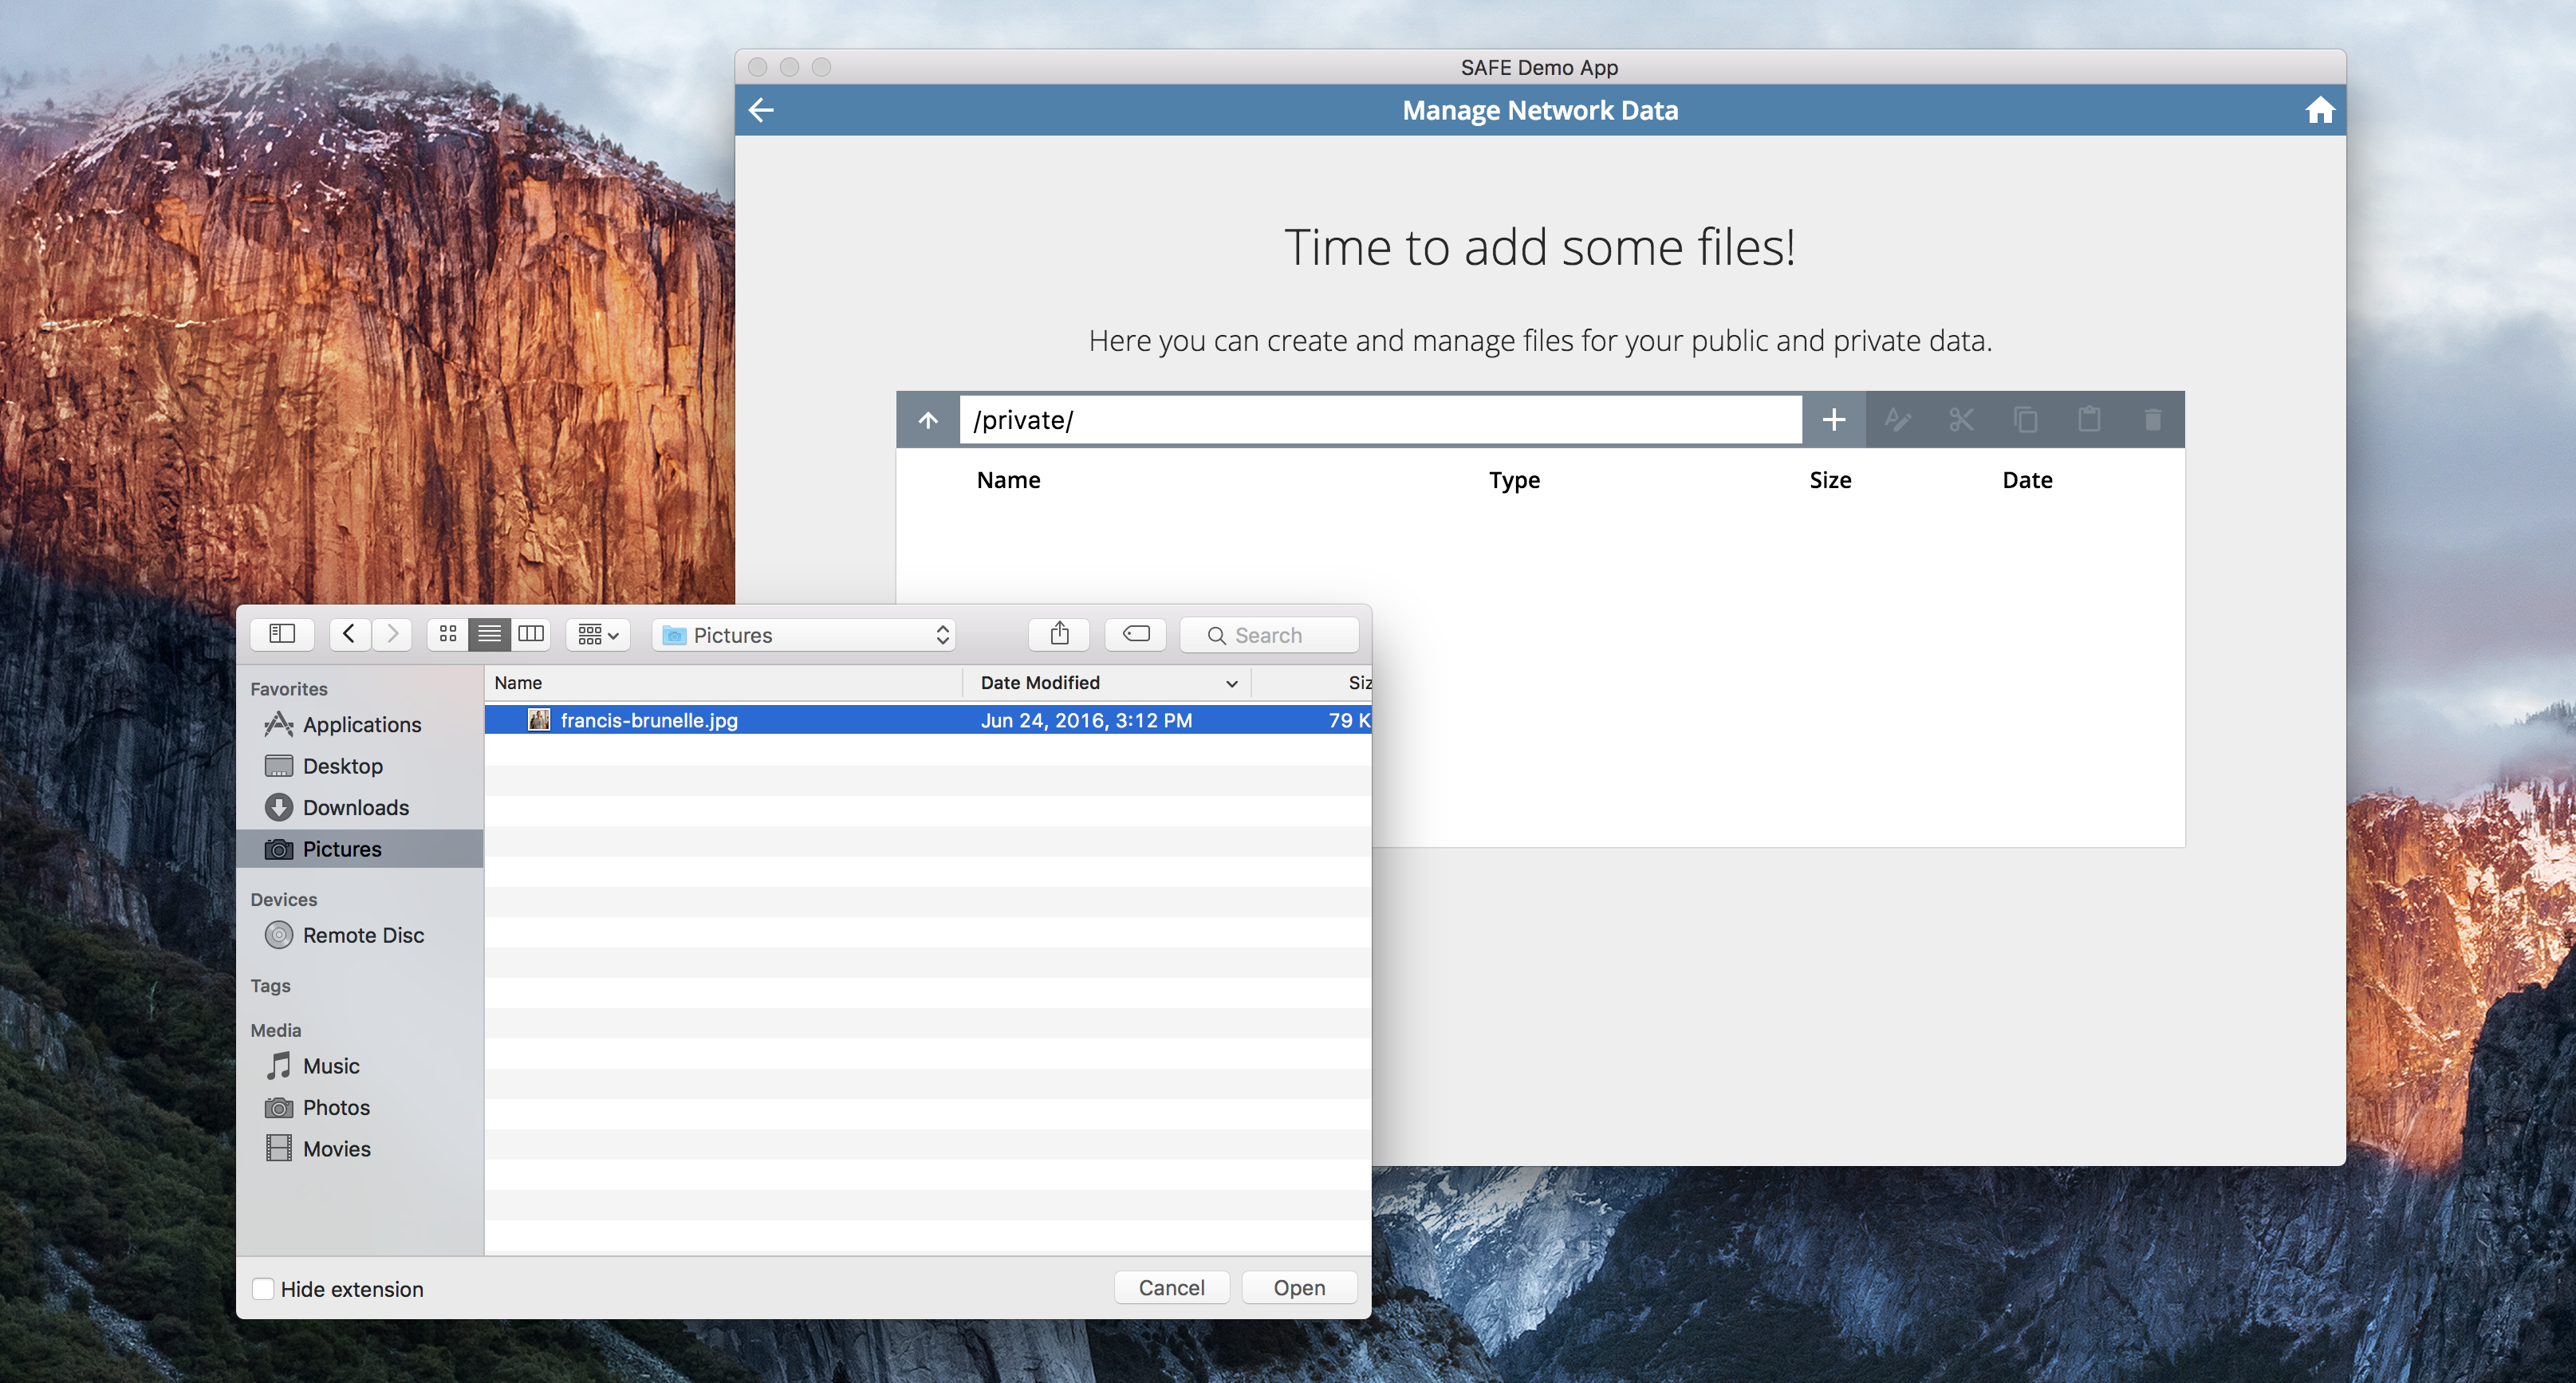
Once the file is uploaded, you can access it from any computer (by logging in to your SAFE Network account via Launcher). To download the file, simply double-click on it.
Upload Public Data
Click on Public folder to access your public data. Then click on the + sign to see a dropdown menu with two options: Upload Directory and Upload File.
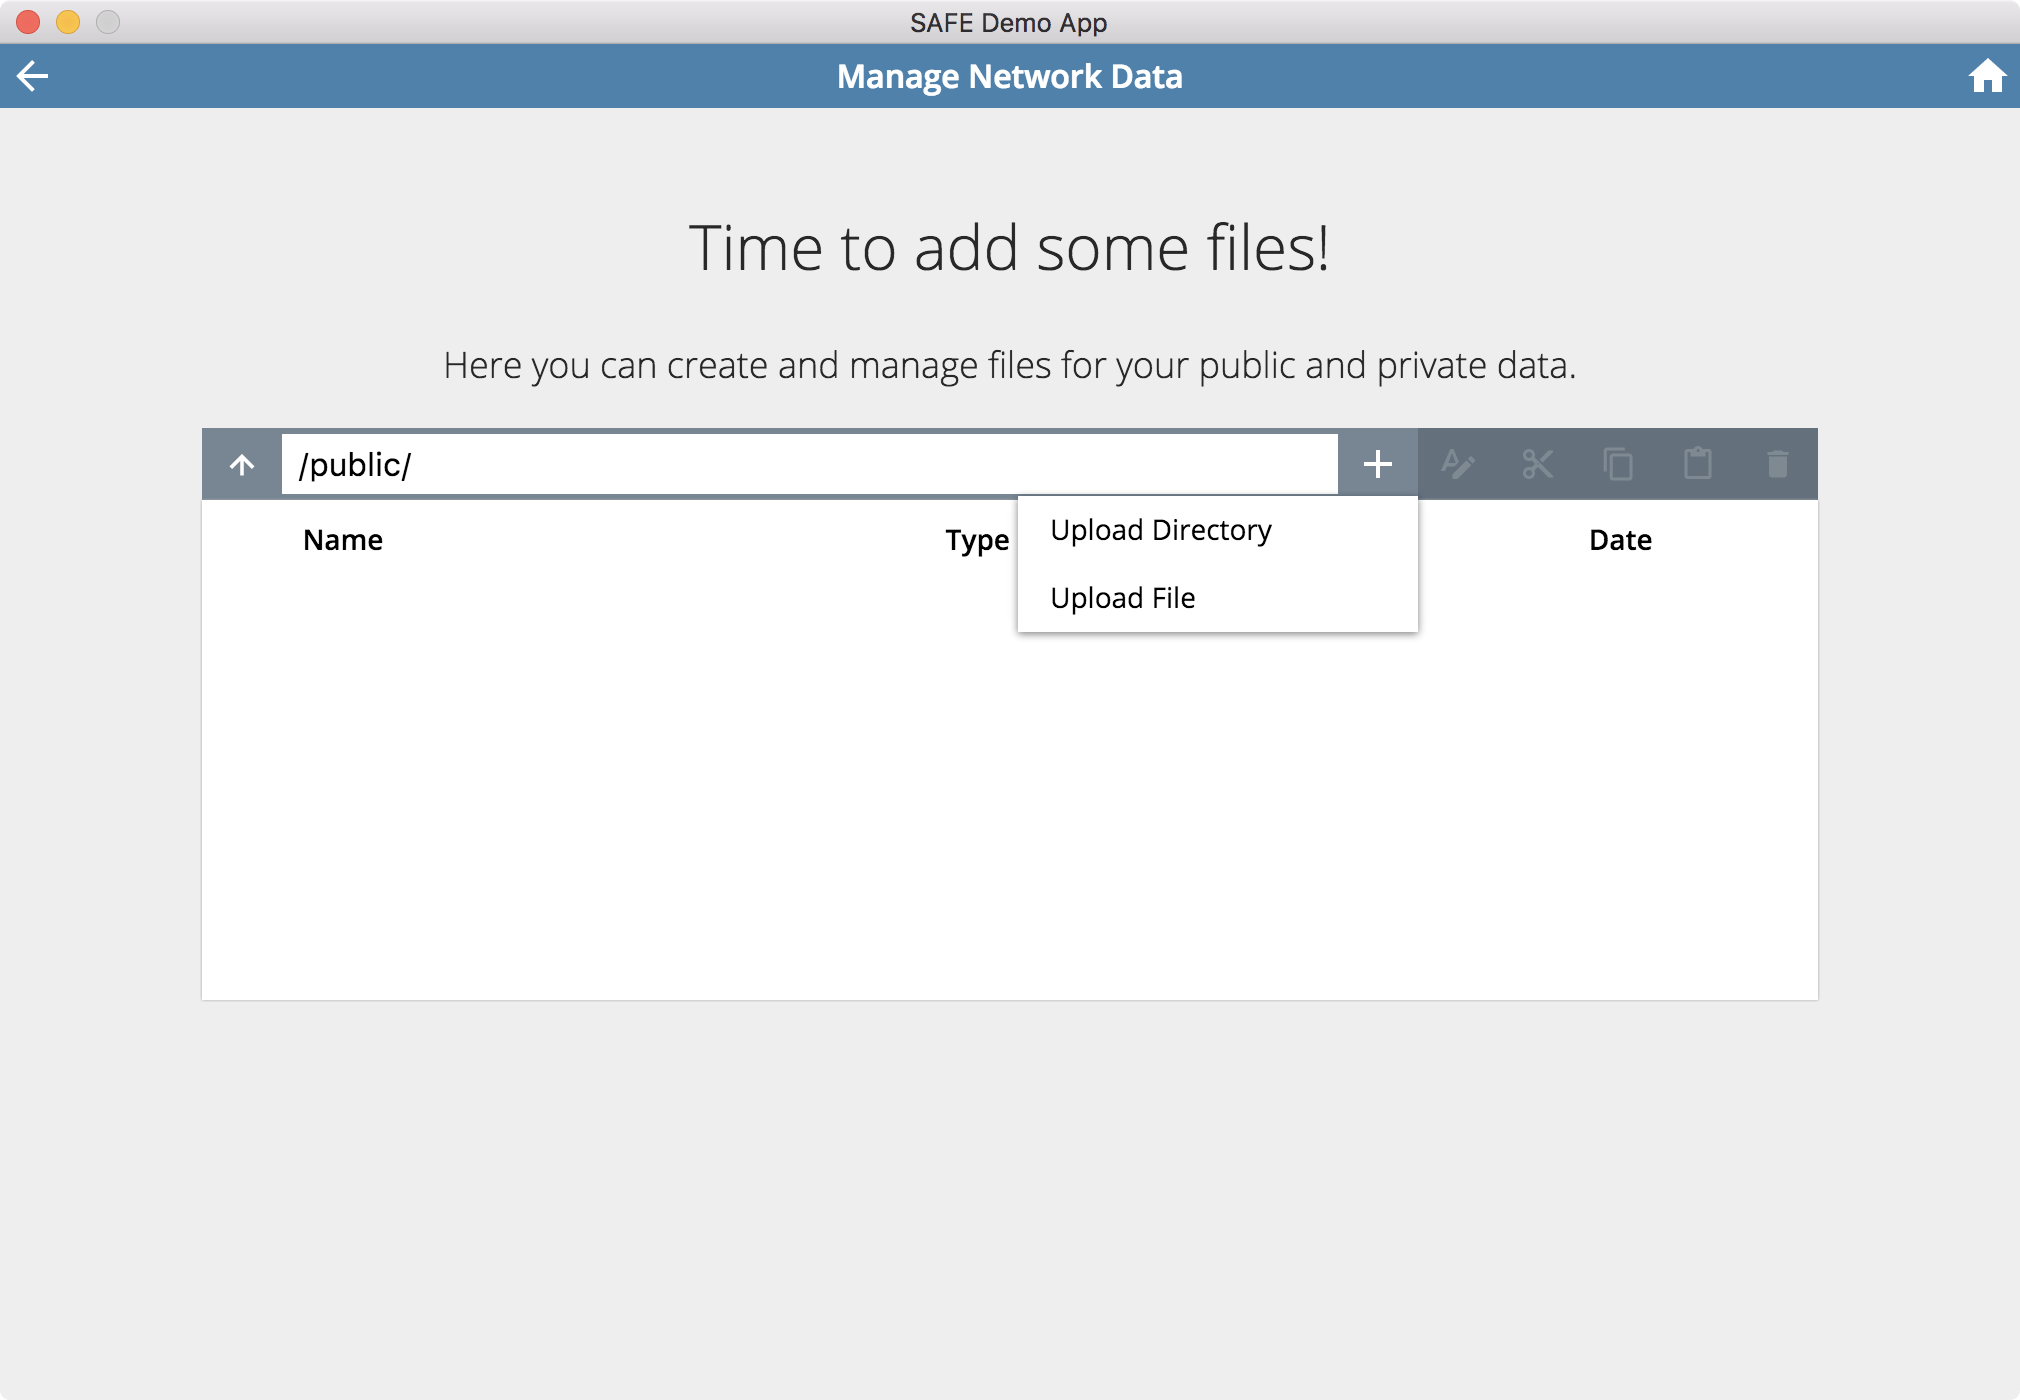
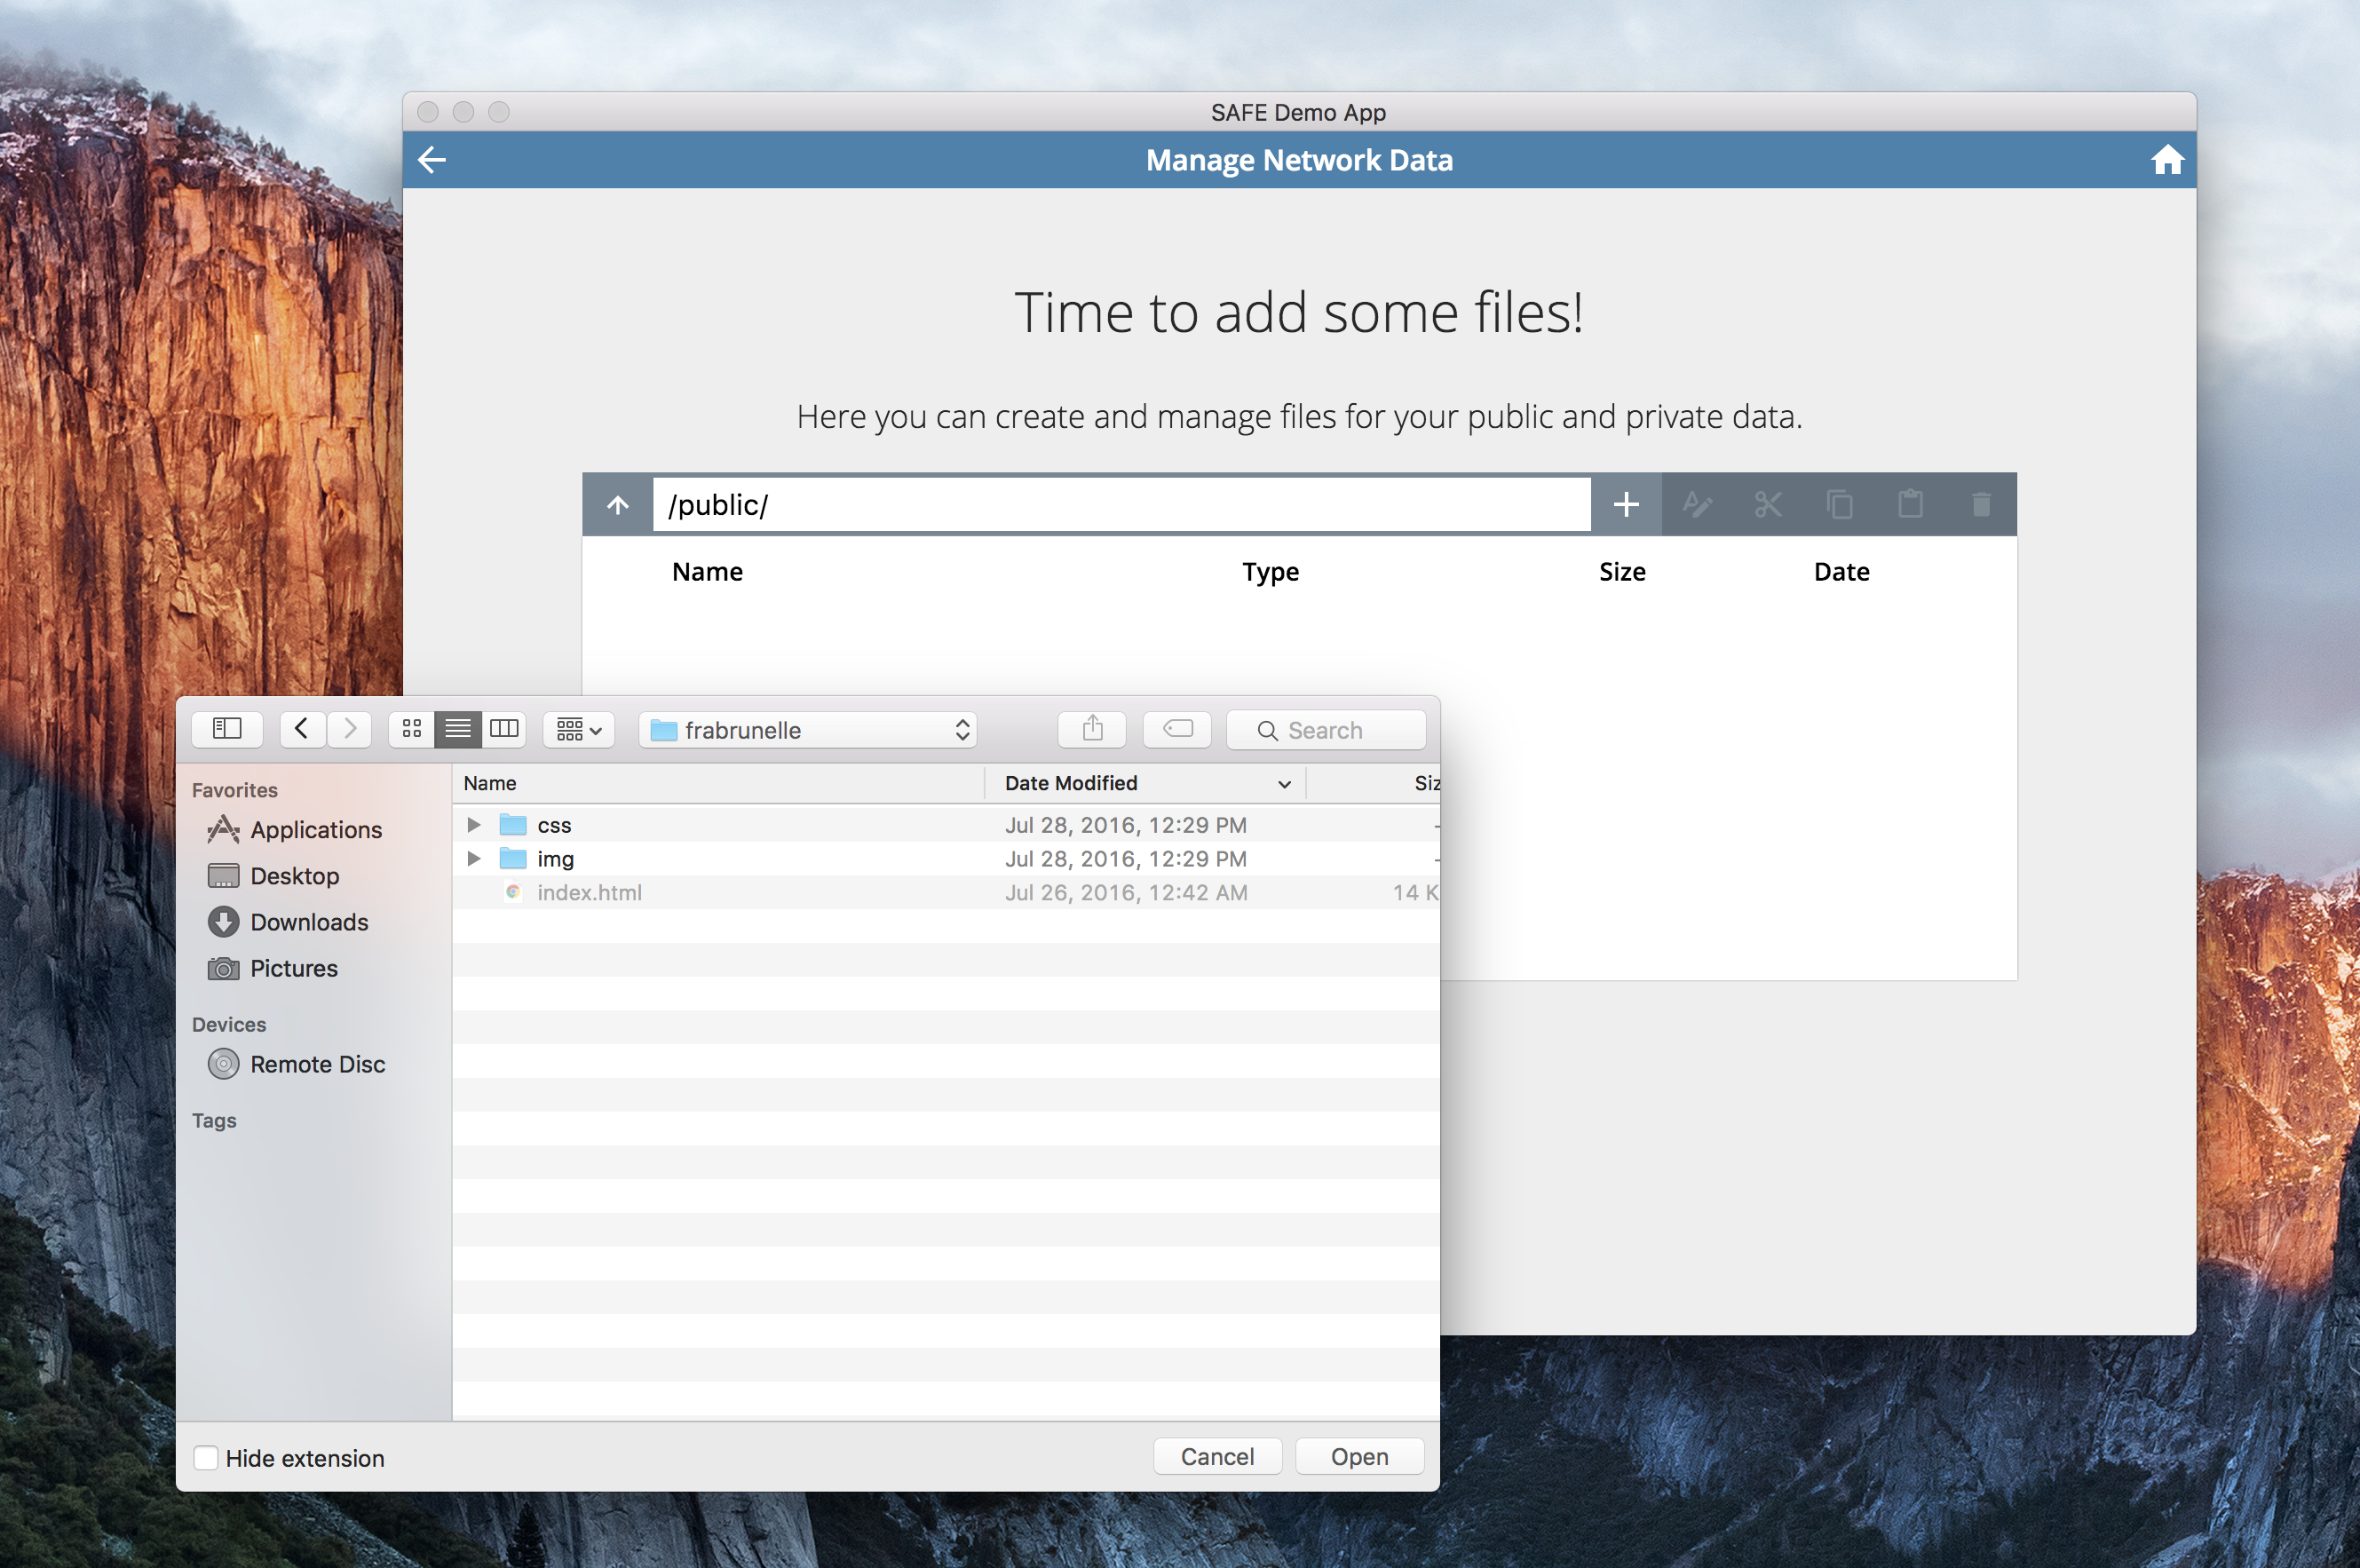
To upload a directory, click on Upload Directory and select the folder you want to upload.
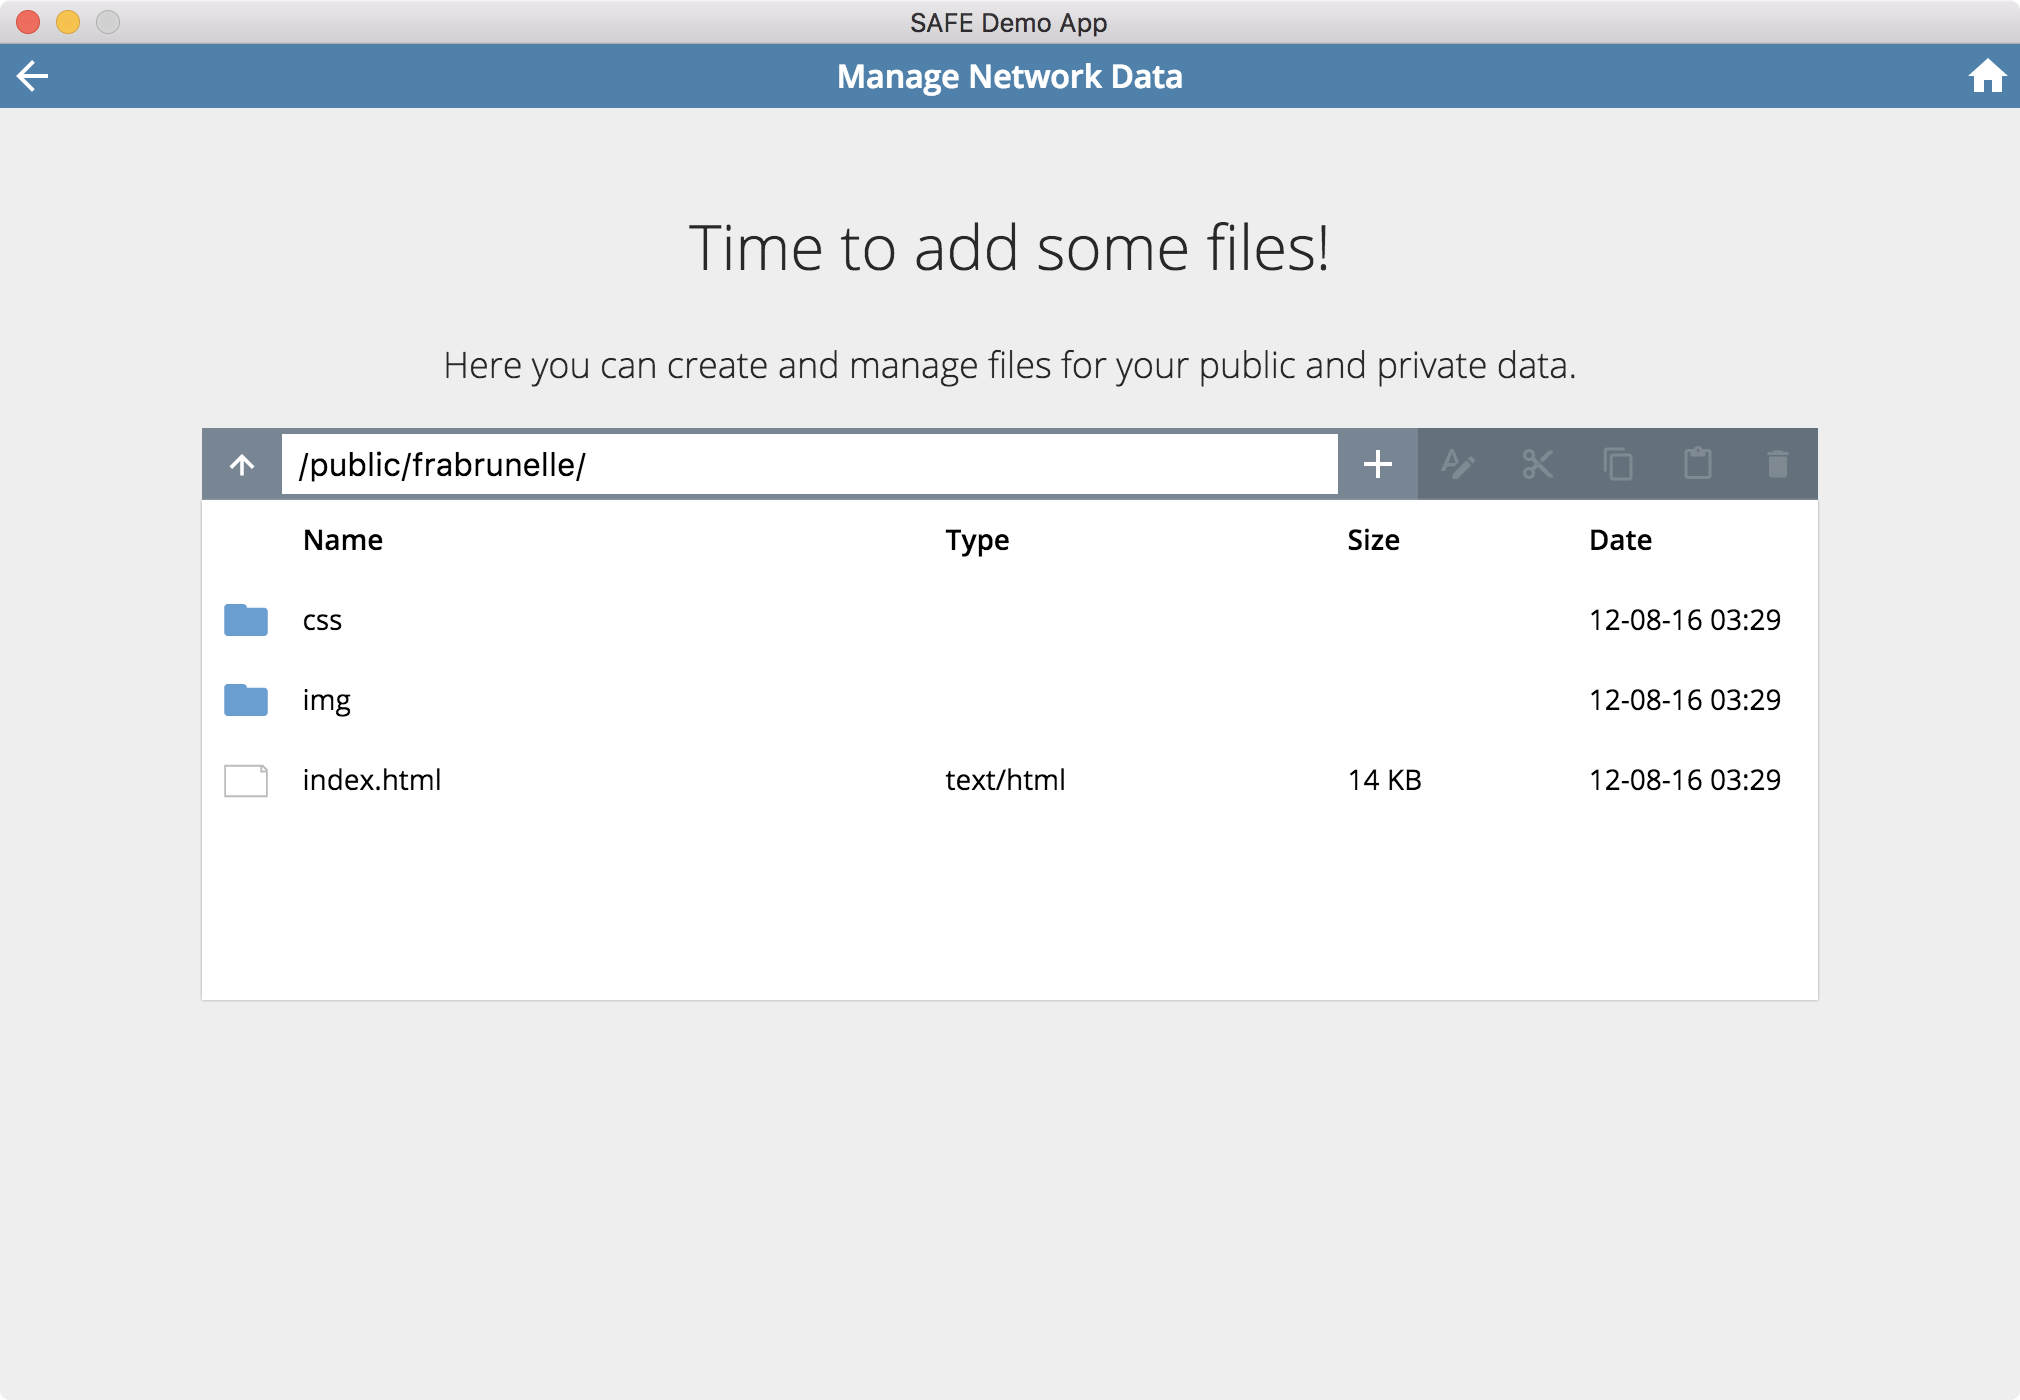
Once the folder is uploaded, you can access it from any computer (by logging in to your SAFE Network account via Launcher). To browse a folder, simply double-click on it.
Manage Websites
The first time you click on Manage Websites, you will see this screen:
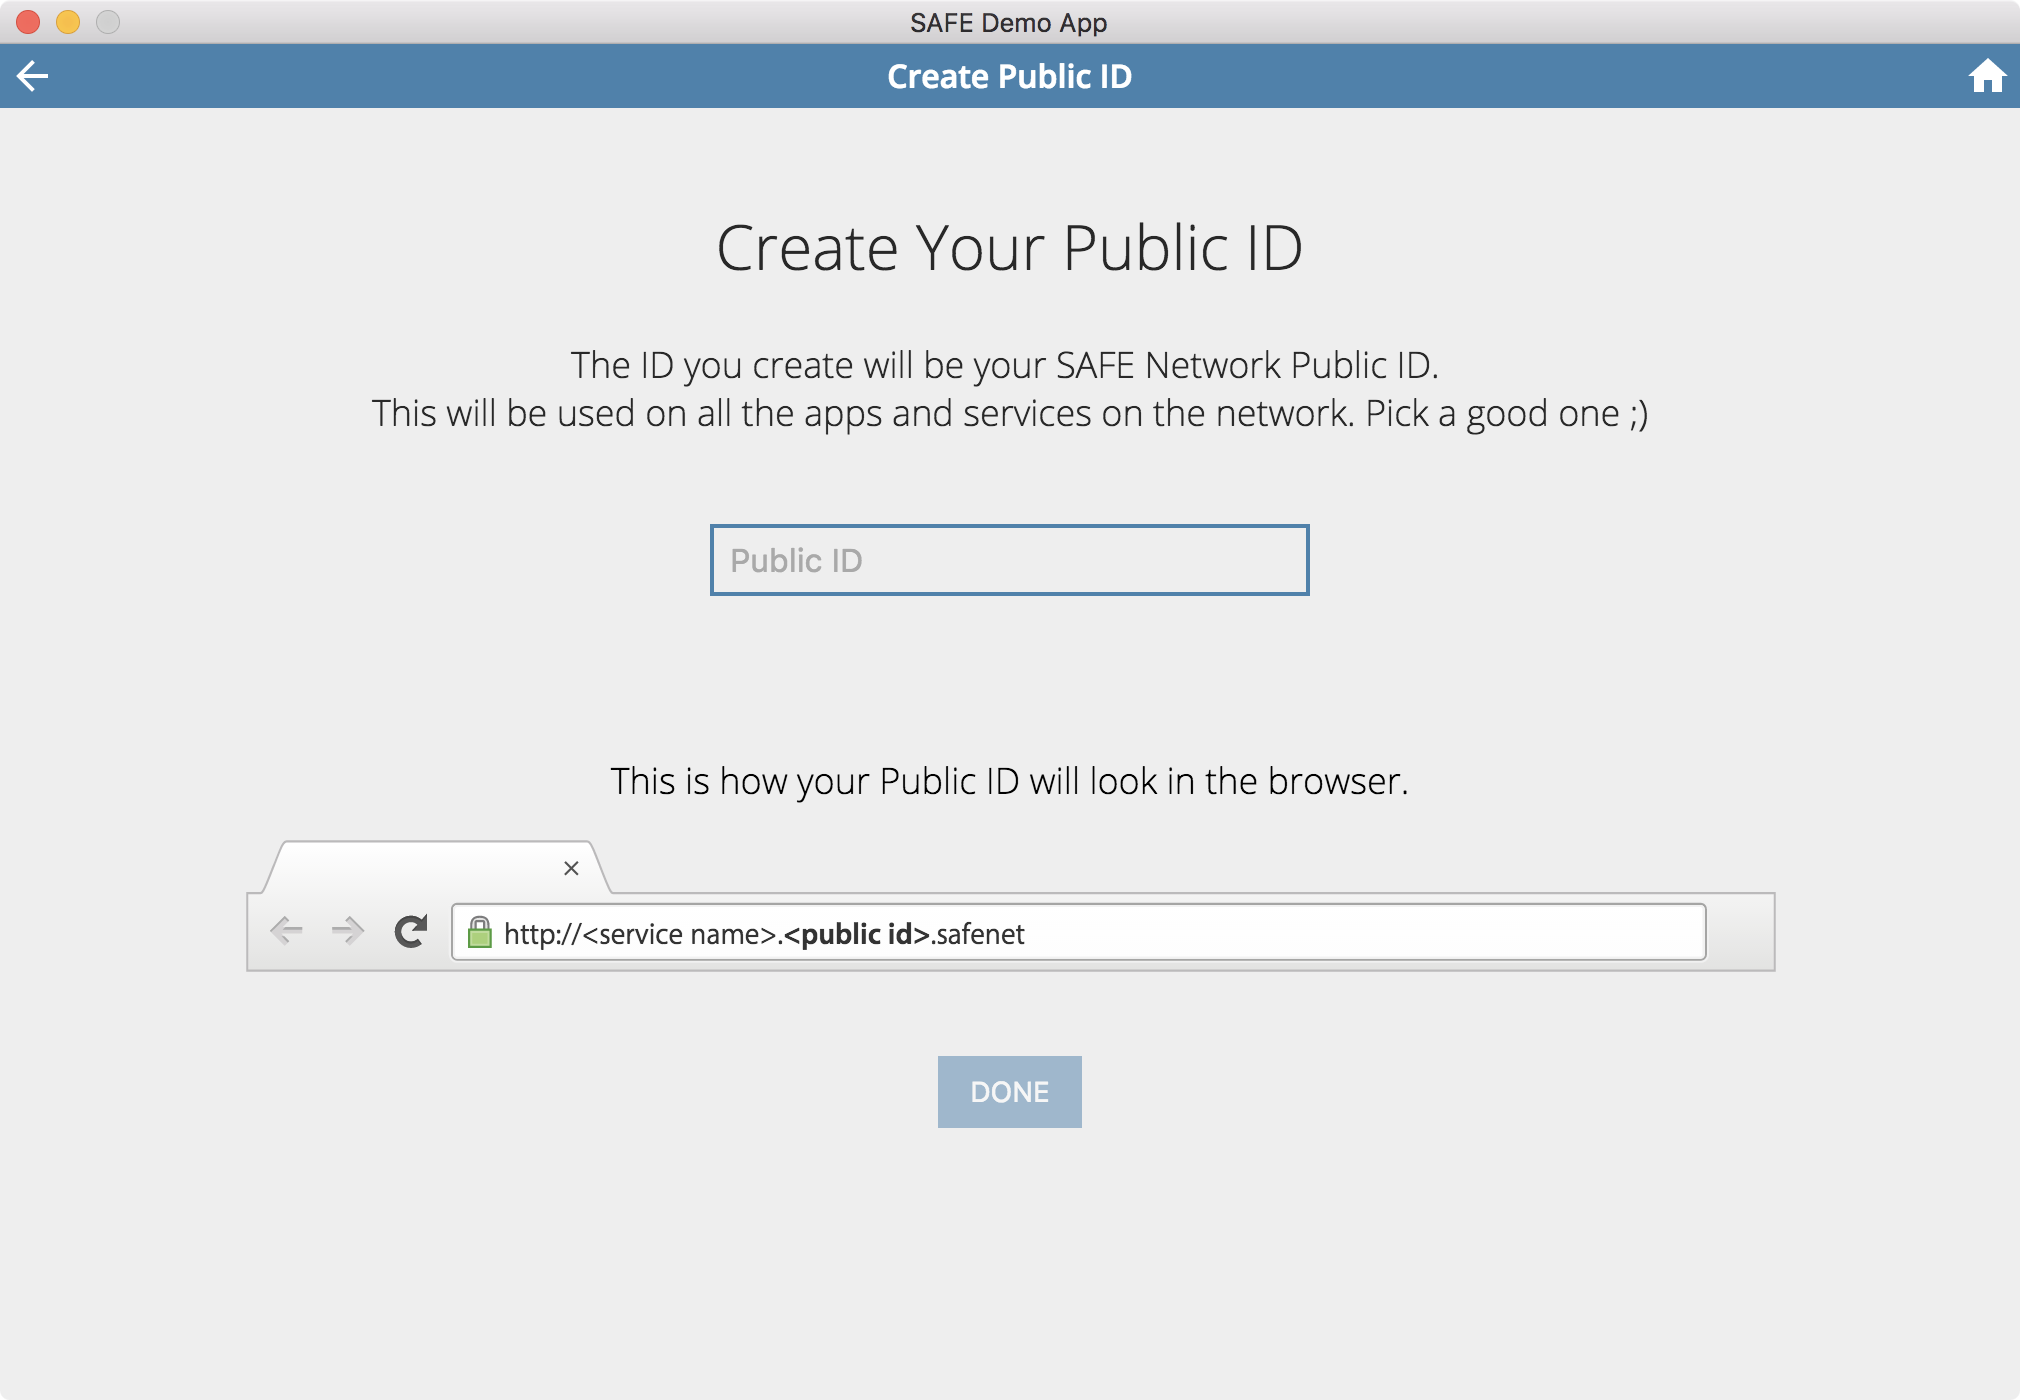
Create Public ID
Enter the Public ID you want to use for all apps and services on the SAFE Network.
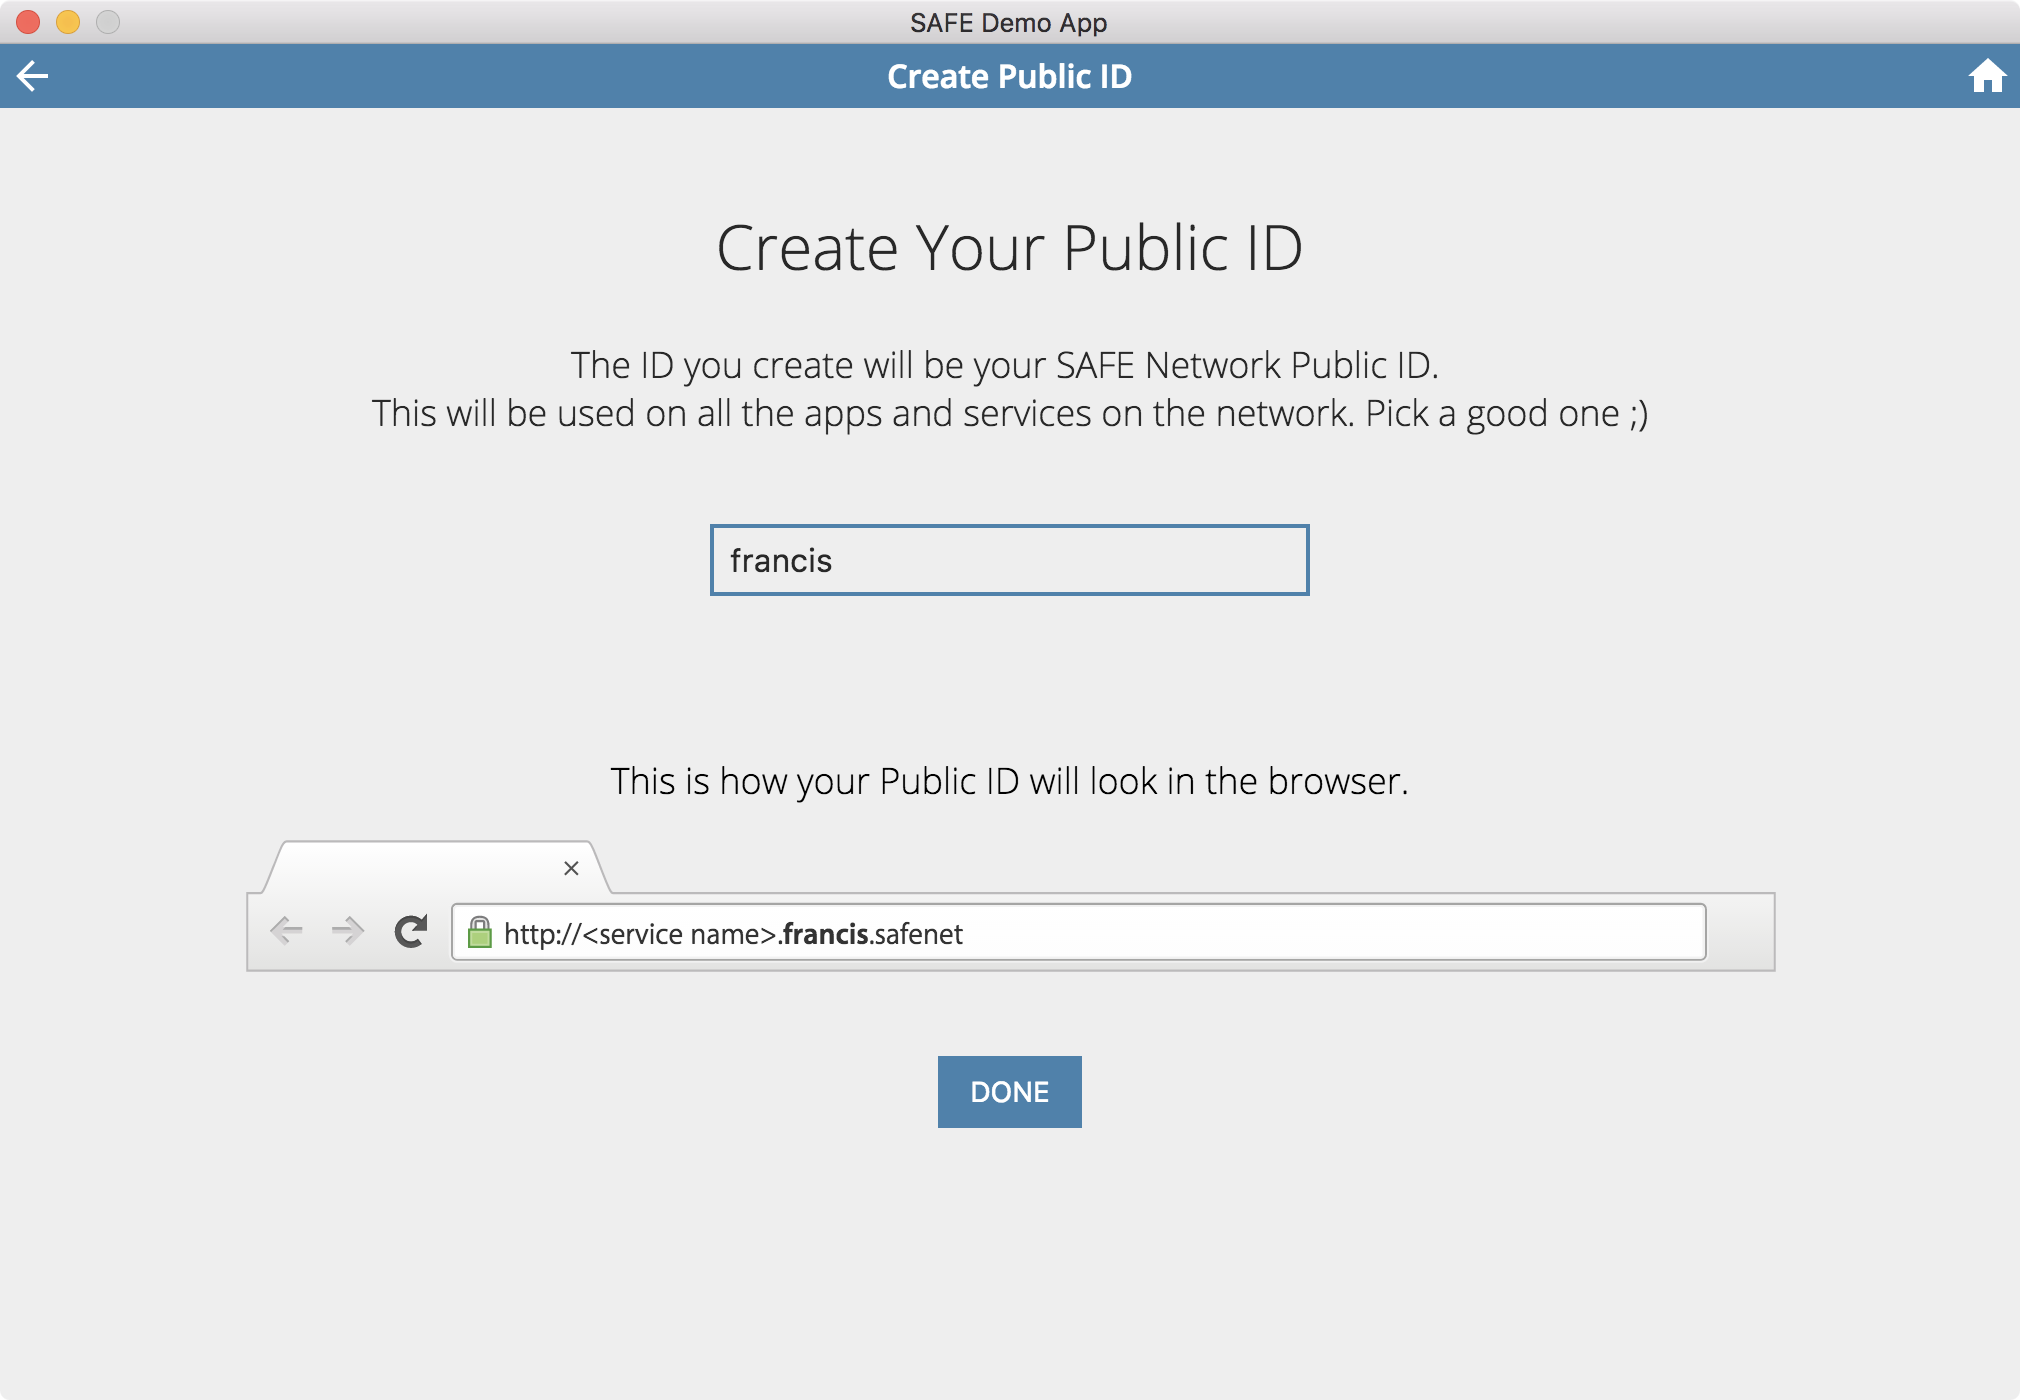
Once your Public ID has been registered, you will see this screen:
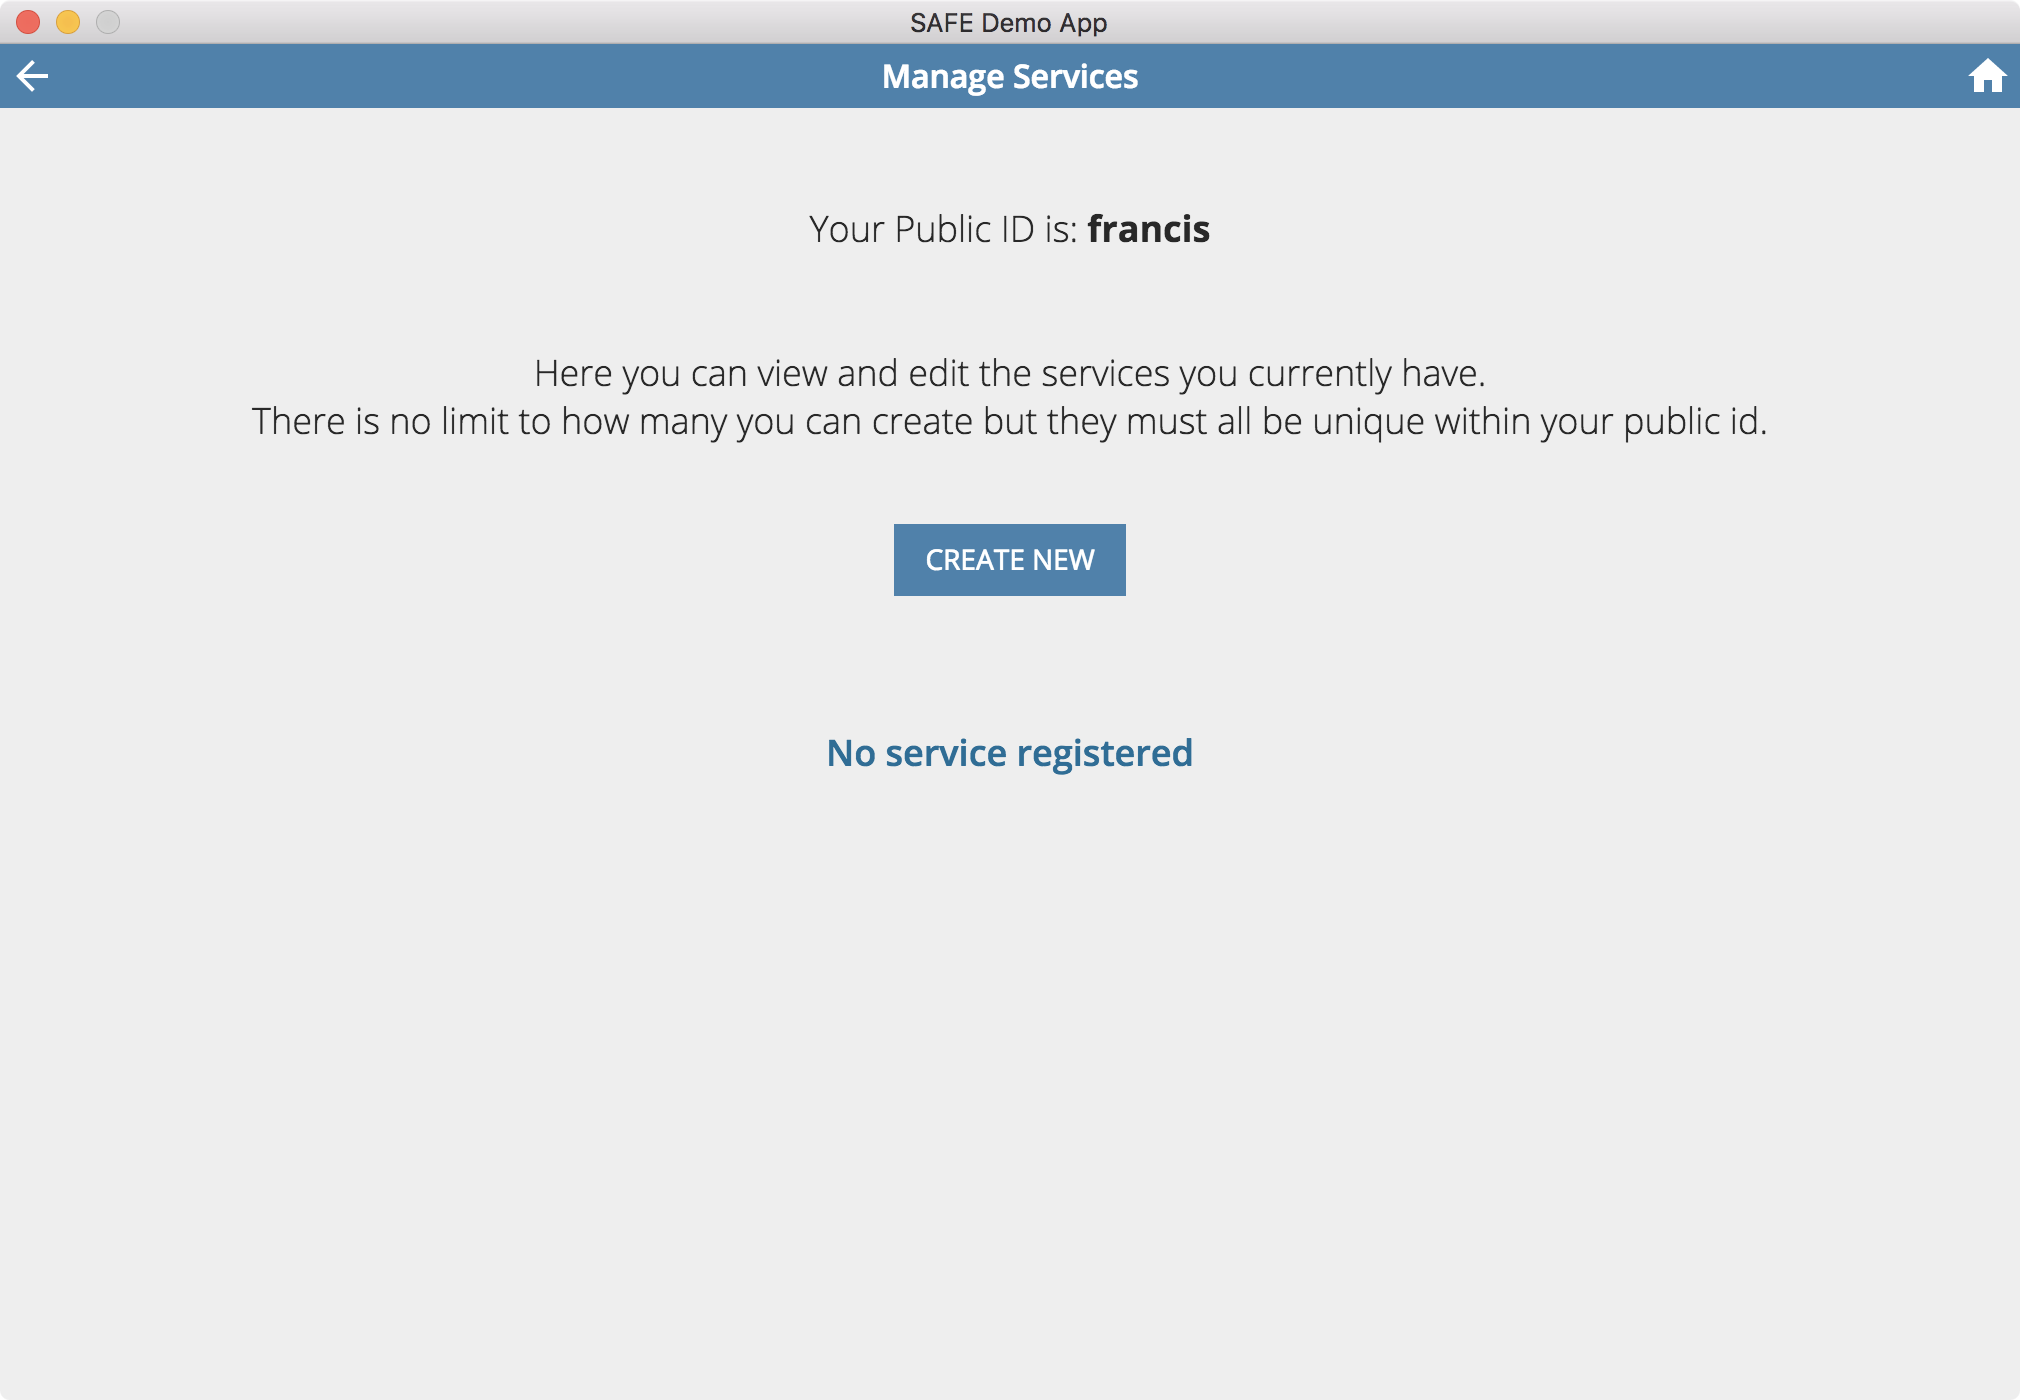
You have created a Public ID!
Now click on CREATE NEW and have a go at creating a website.
Create a Service
Enter the Service Name you want to use for this SAFE website.
Service naming must be unique within your own Public ID
Use www as a service name to create a SAFE website with no prefix
If you create a service called
www, you'll be able to access your Public ID without specifying a subdomain (e.g. you'll be able to load http://francis.safenet if the Public ID calledfranciscontains a service calledwww).
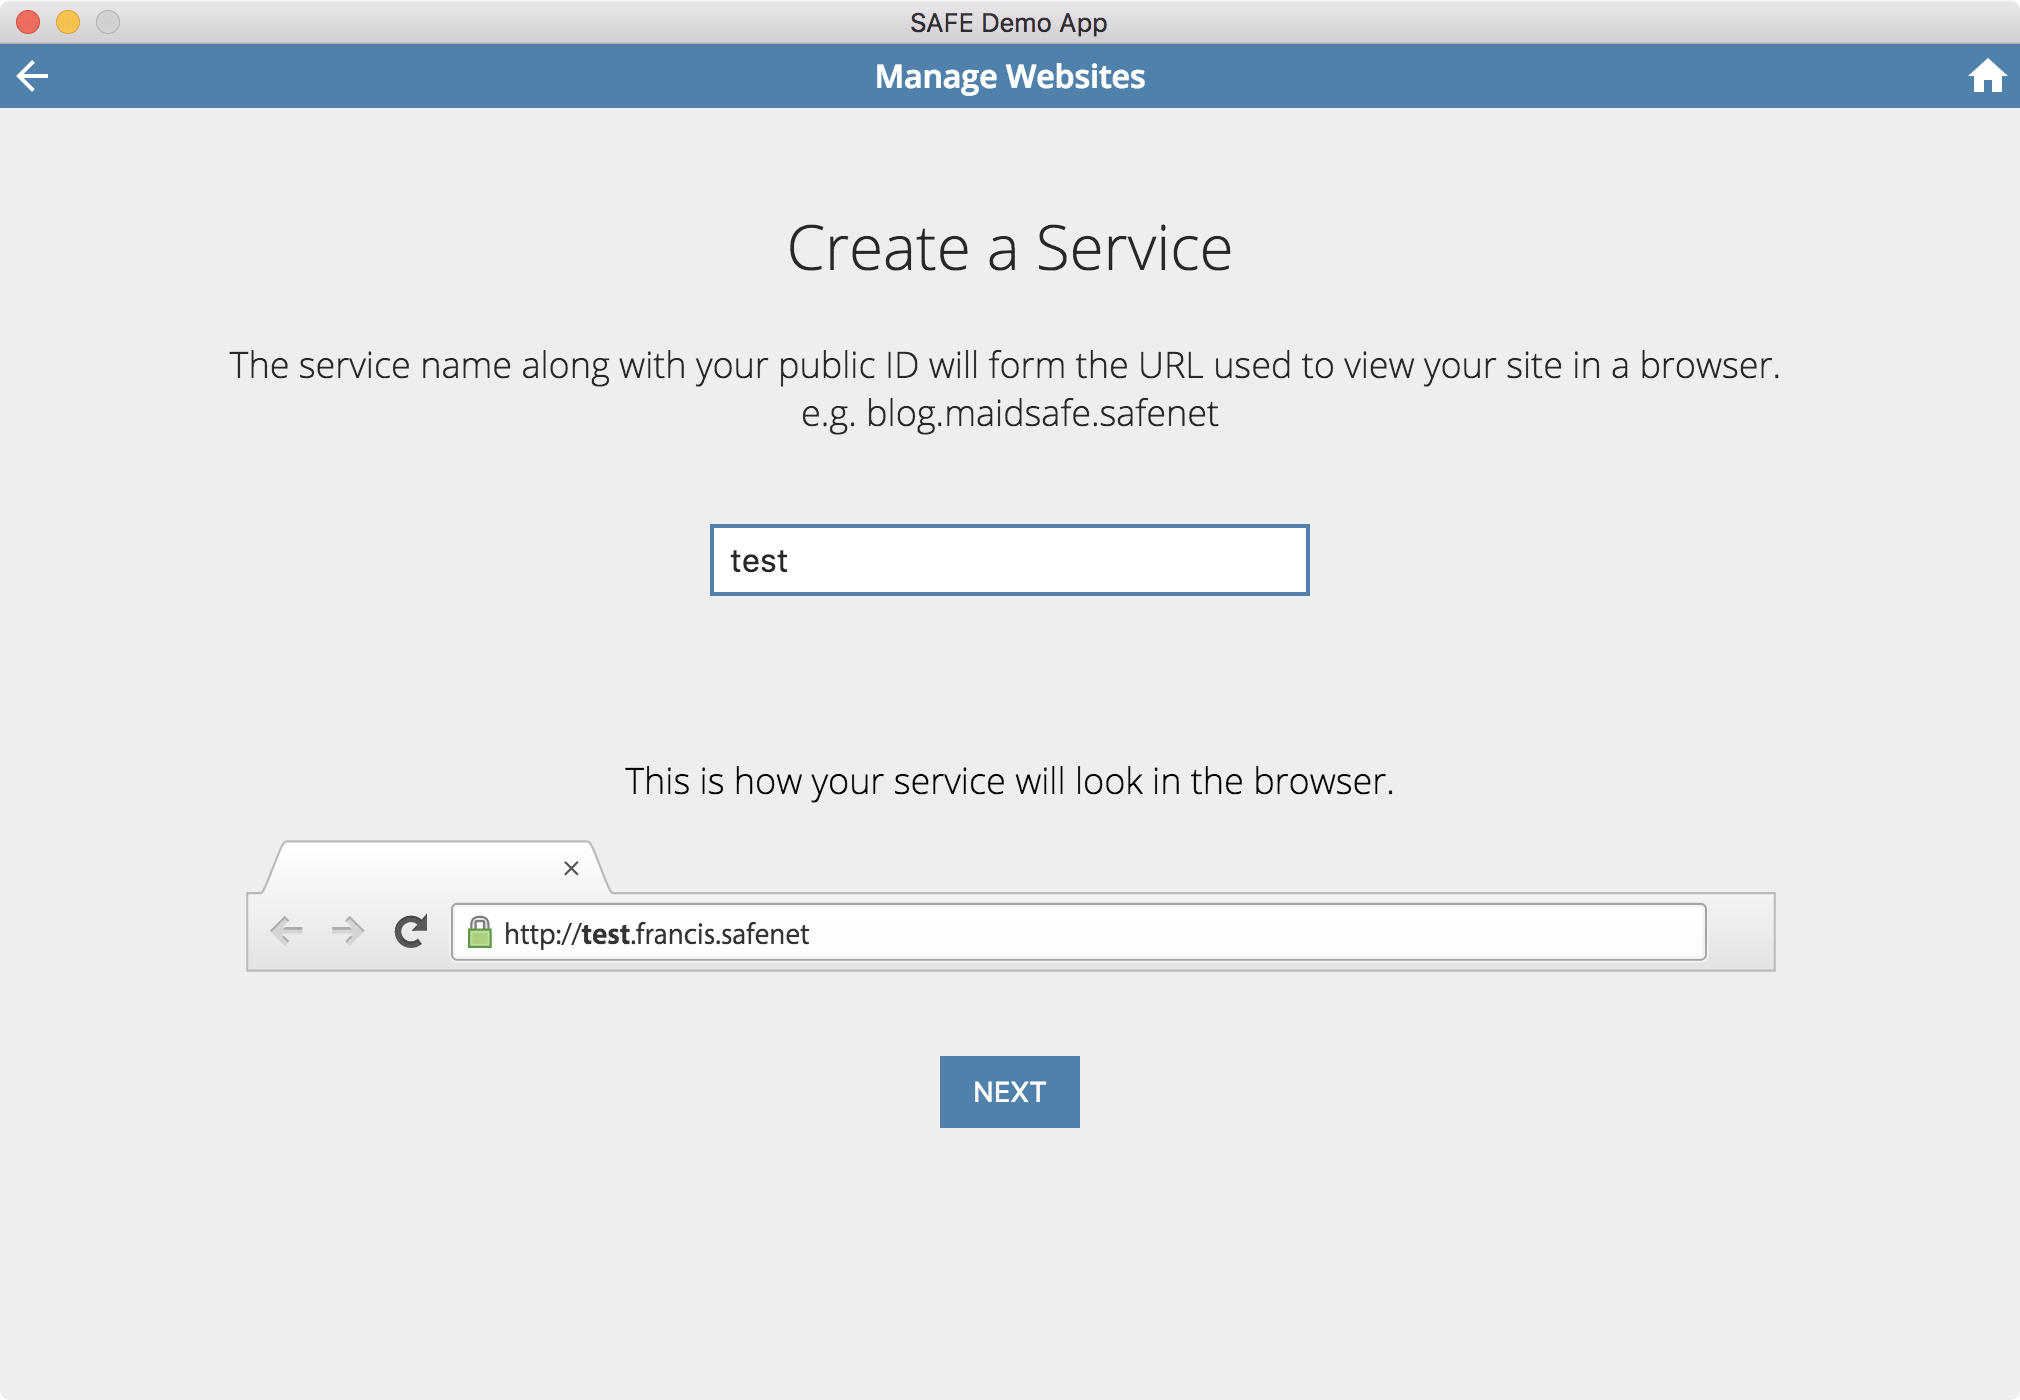
If you previously uploaded a website folder, you can choose to map it to your service. If you don't have a website folder, you can create one by clicking on Template. Or if you want to upload a new website folder, click on Manage Network Data.
Make sure your website folder contains an index.html file
Your website folder needs to contain an
index.htmlfile, otherwise your SAFE website (e.g. http://test.francis.safenet) won't be accessible.index.htmlis the default file that is loaded when no file is specified in the URL.
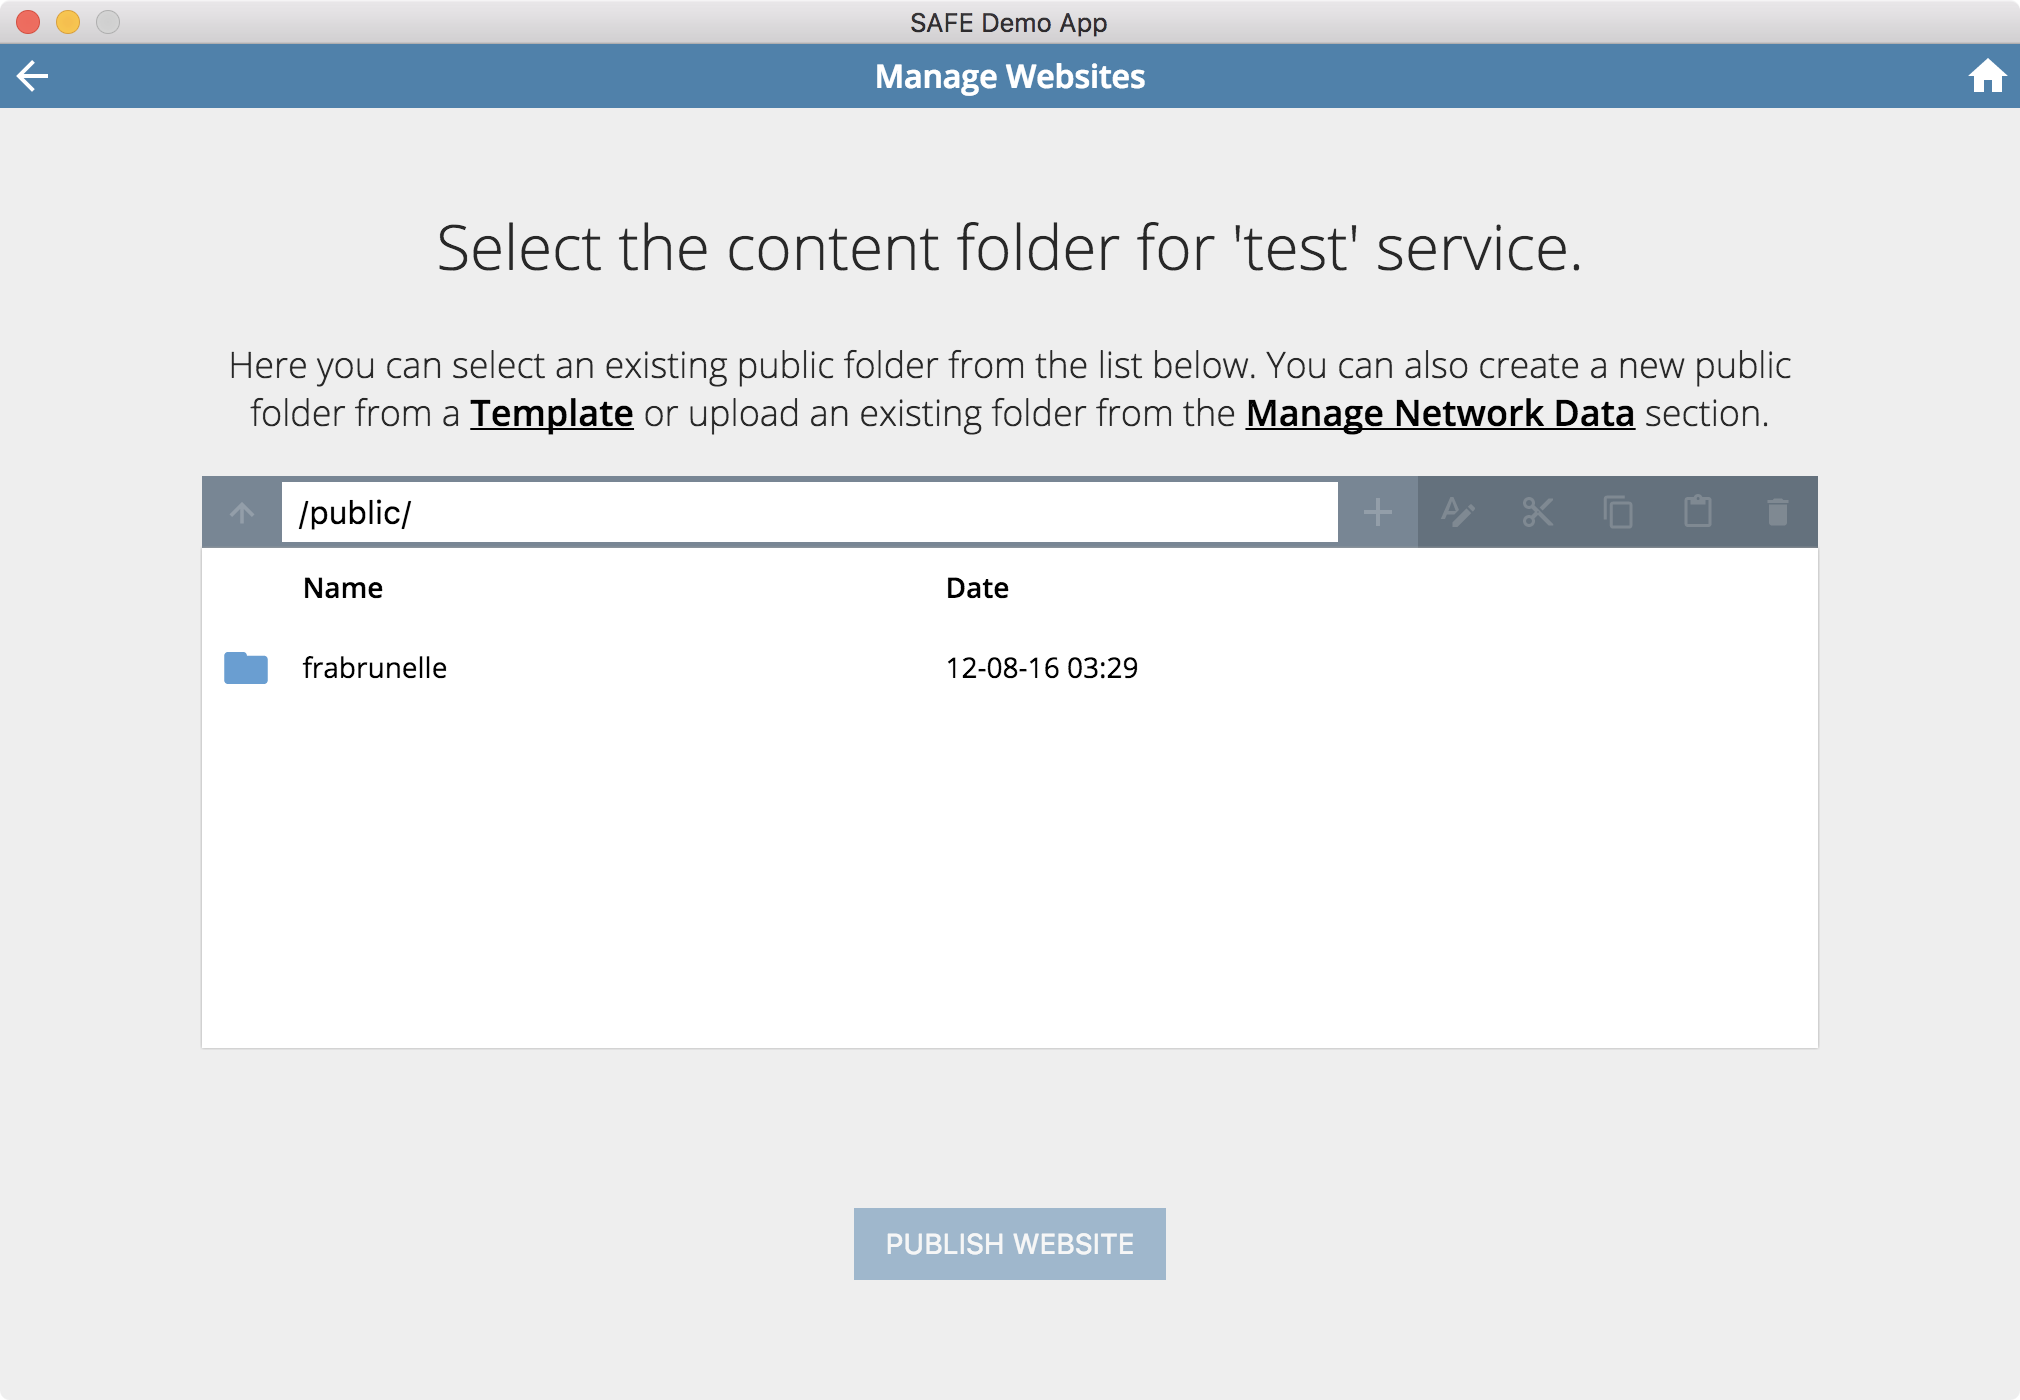
You can click and change the text in this sample template.
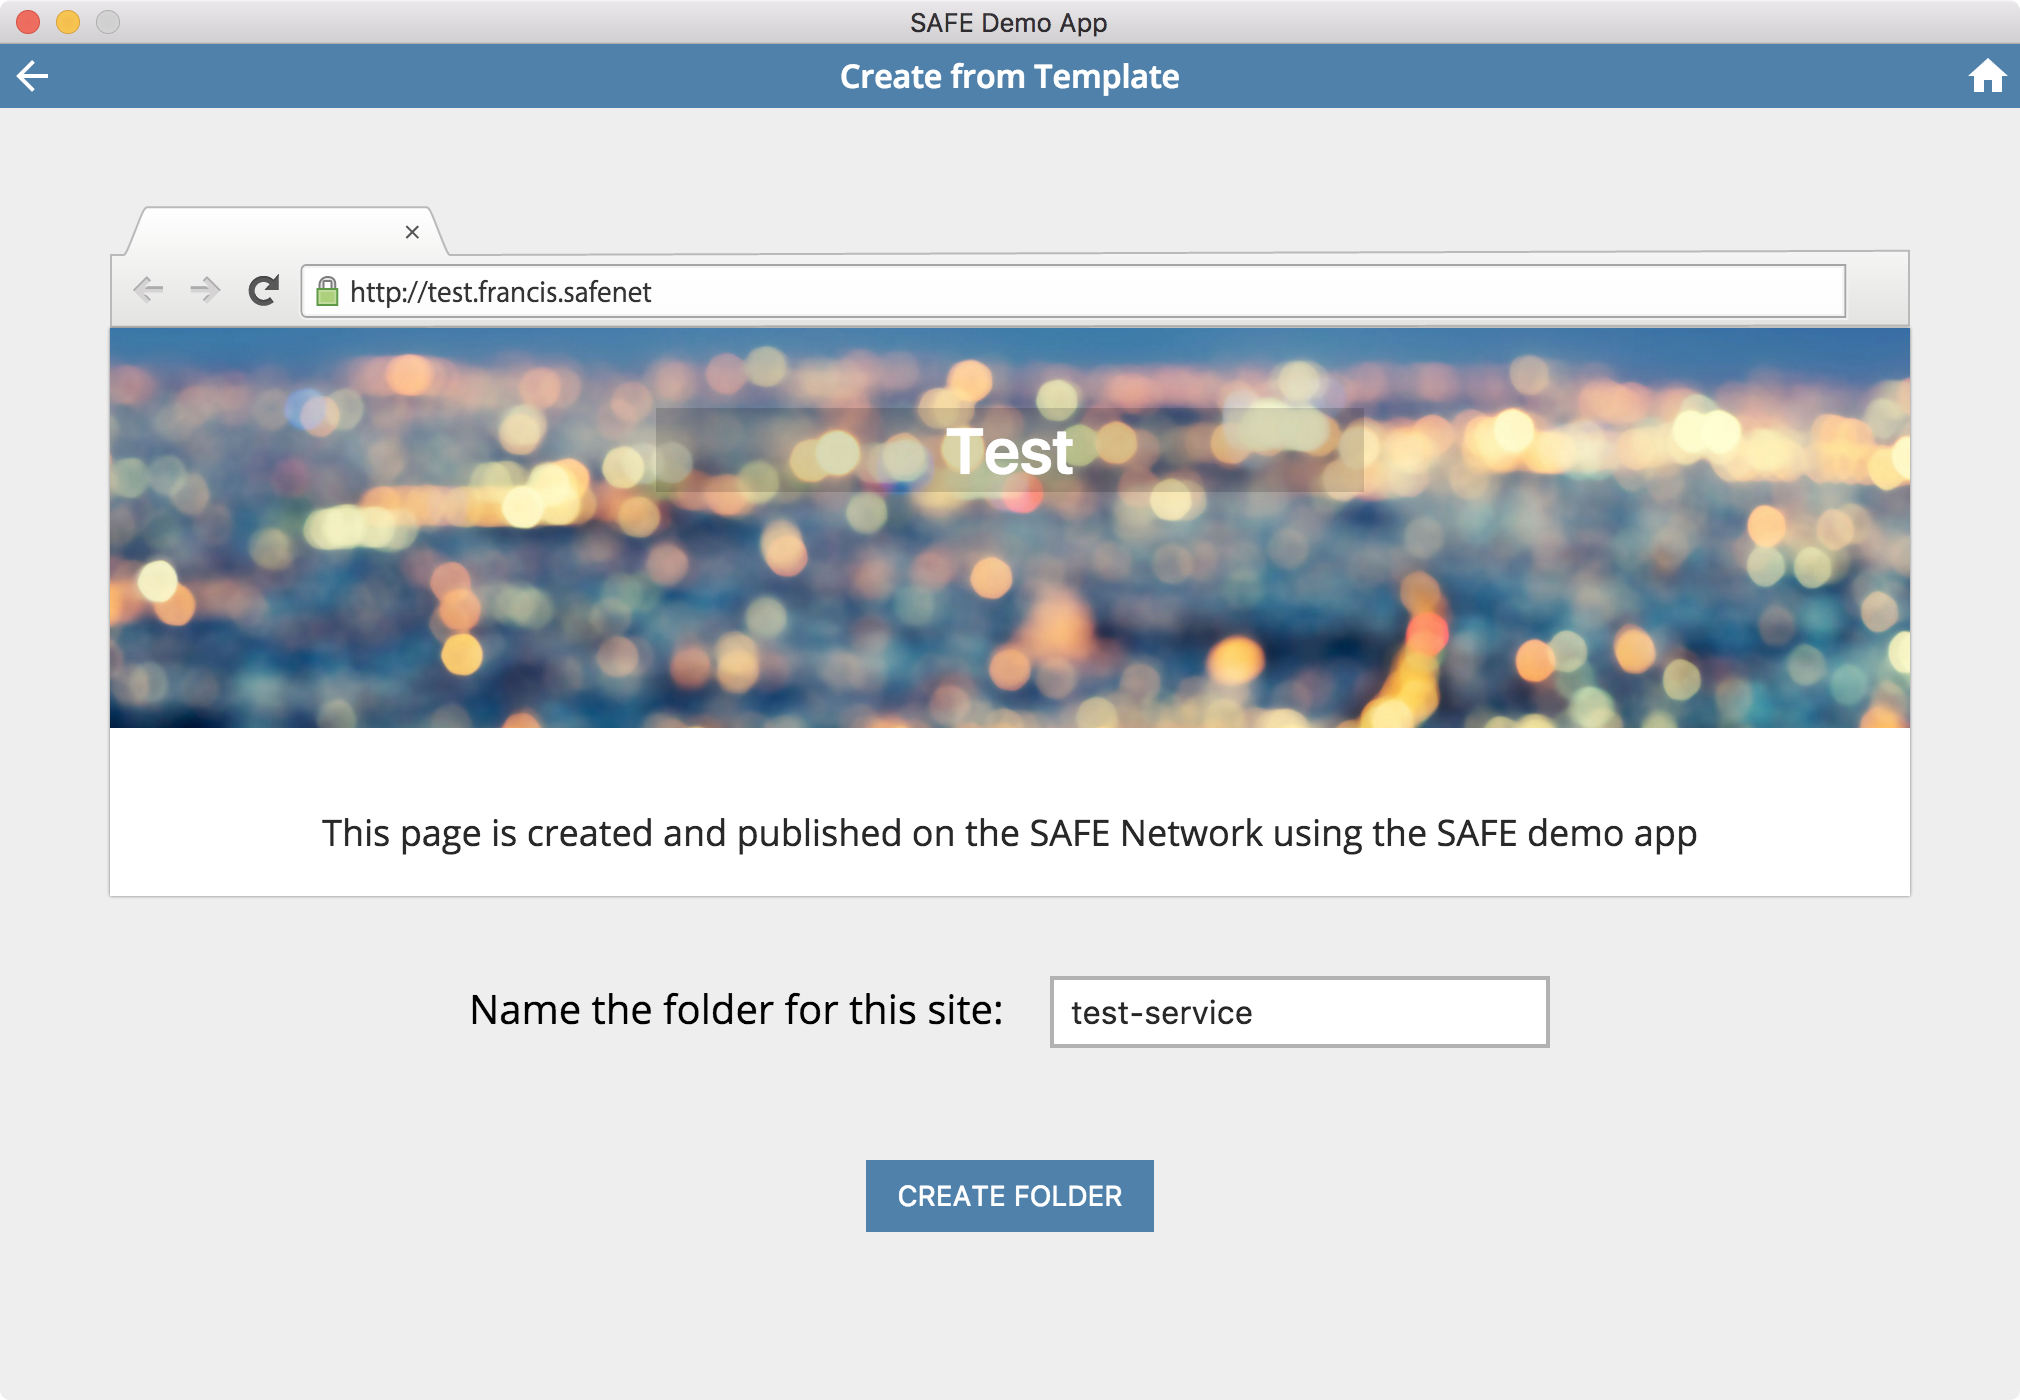
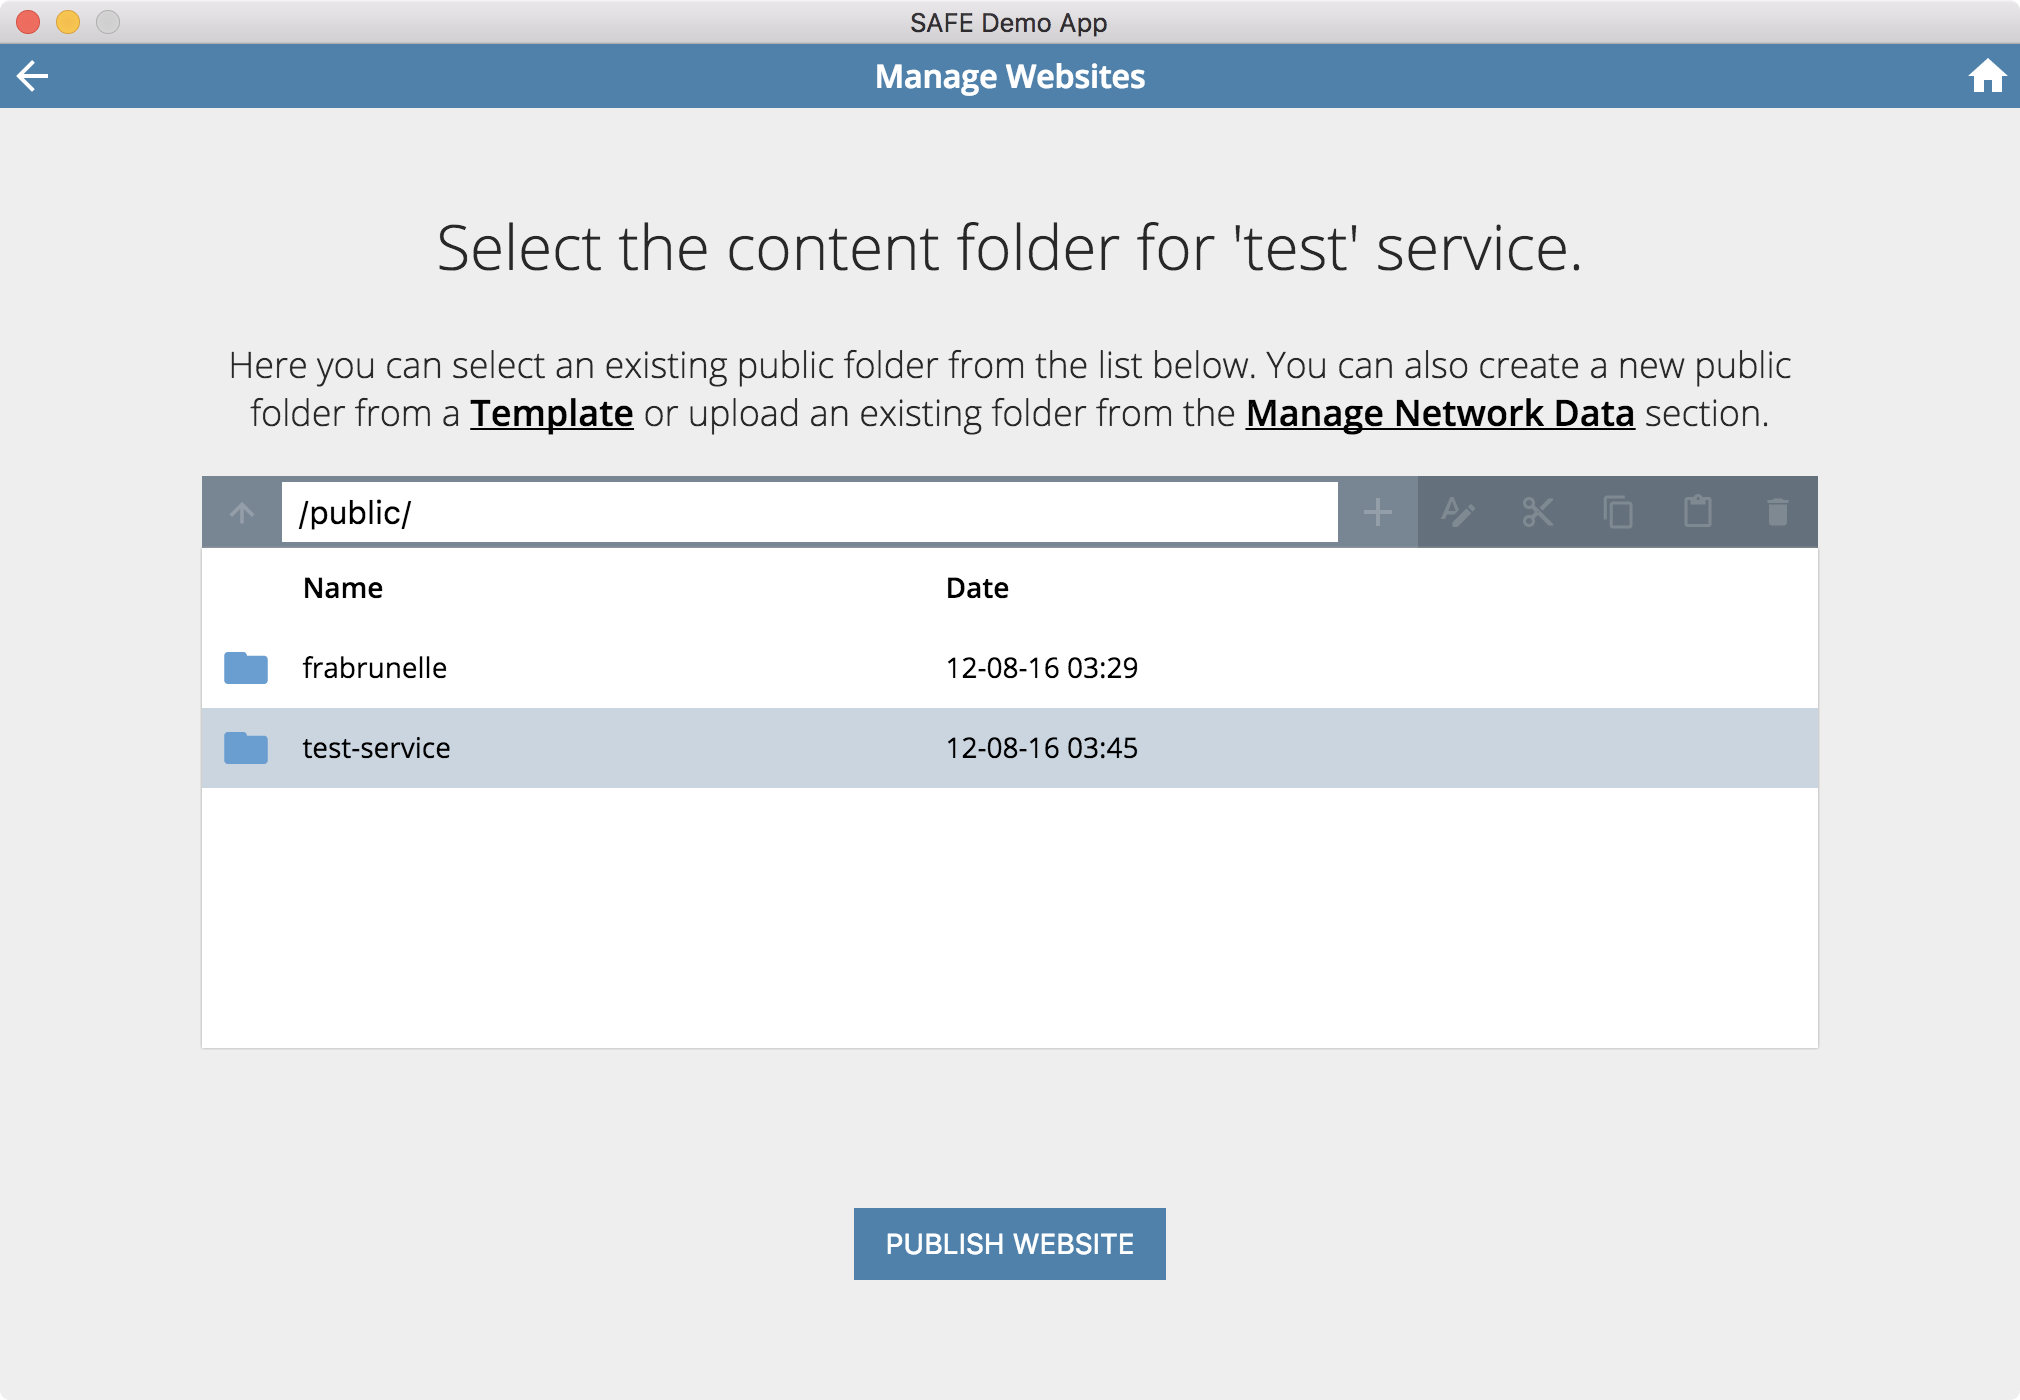
Select the folder you want to use for this service and click on PUBLISH WEBSITE.
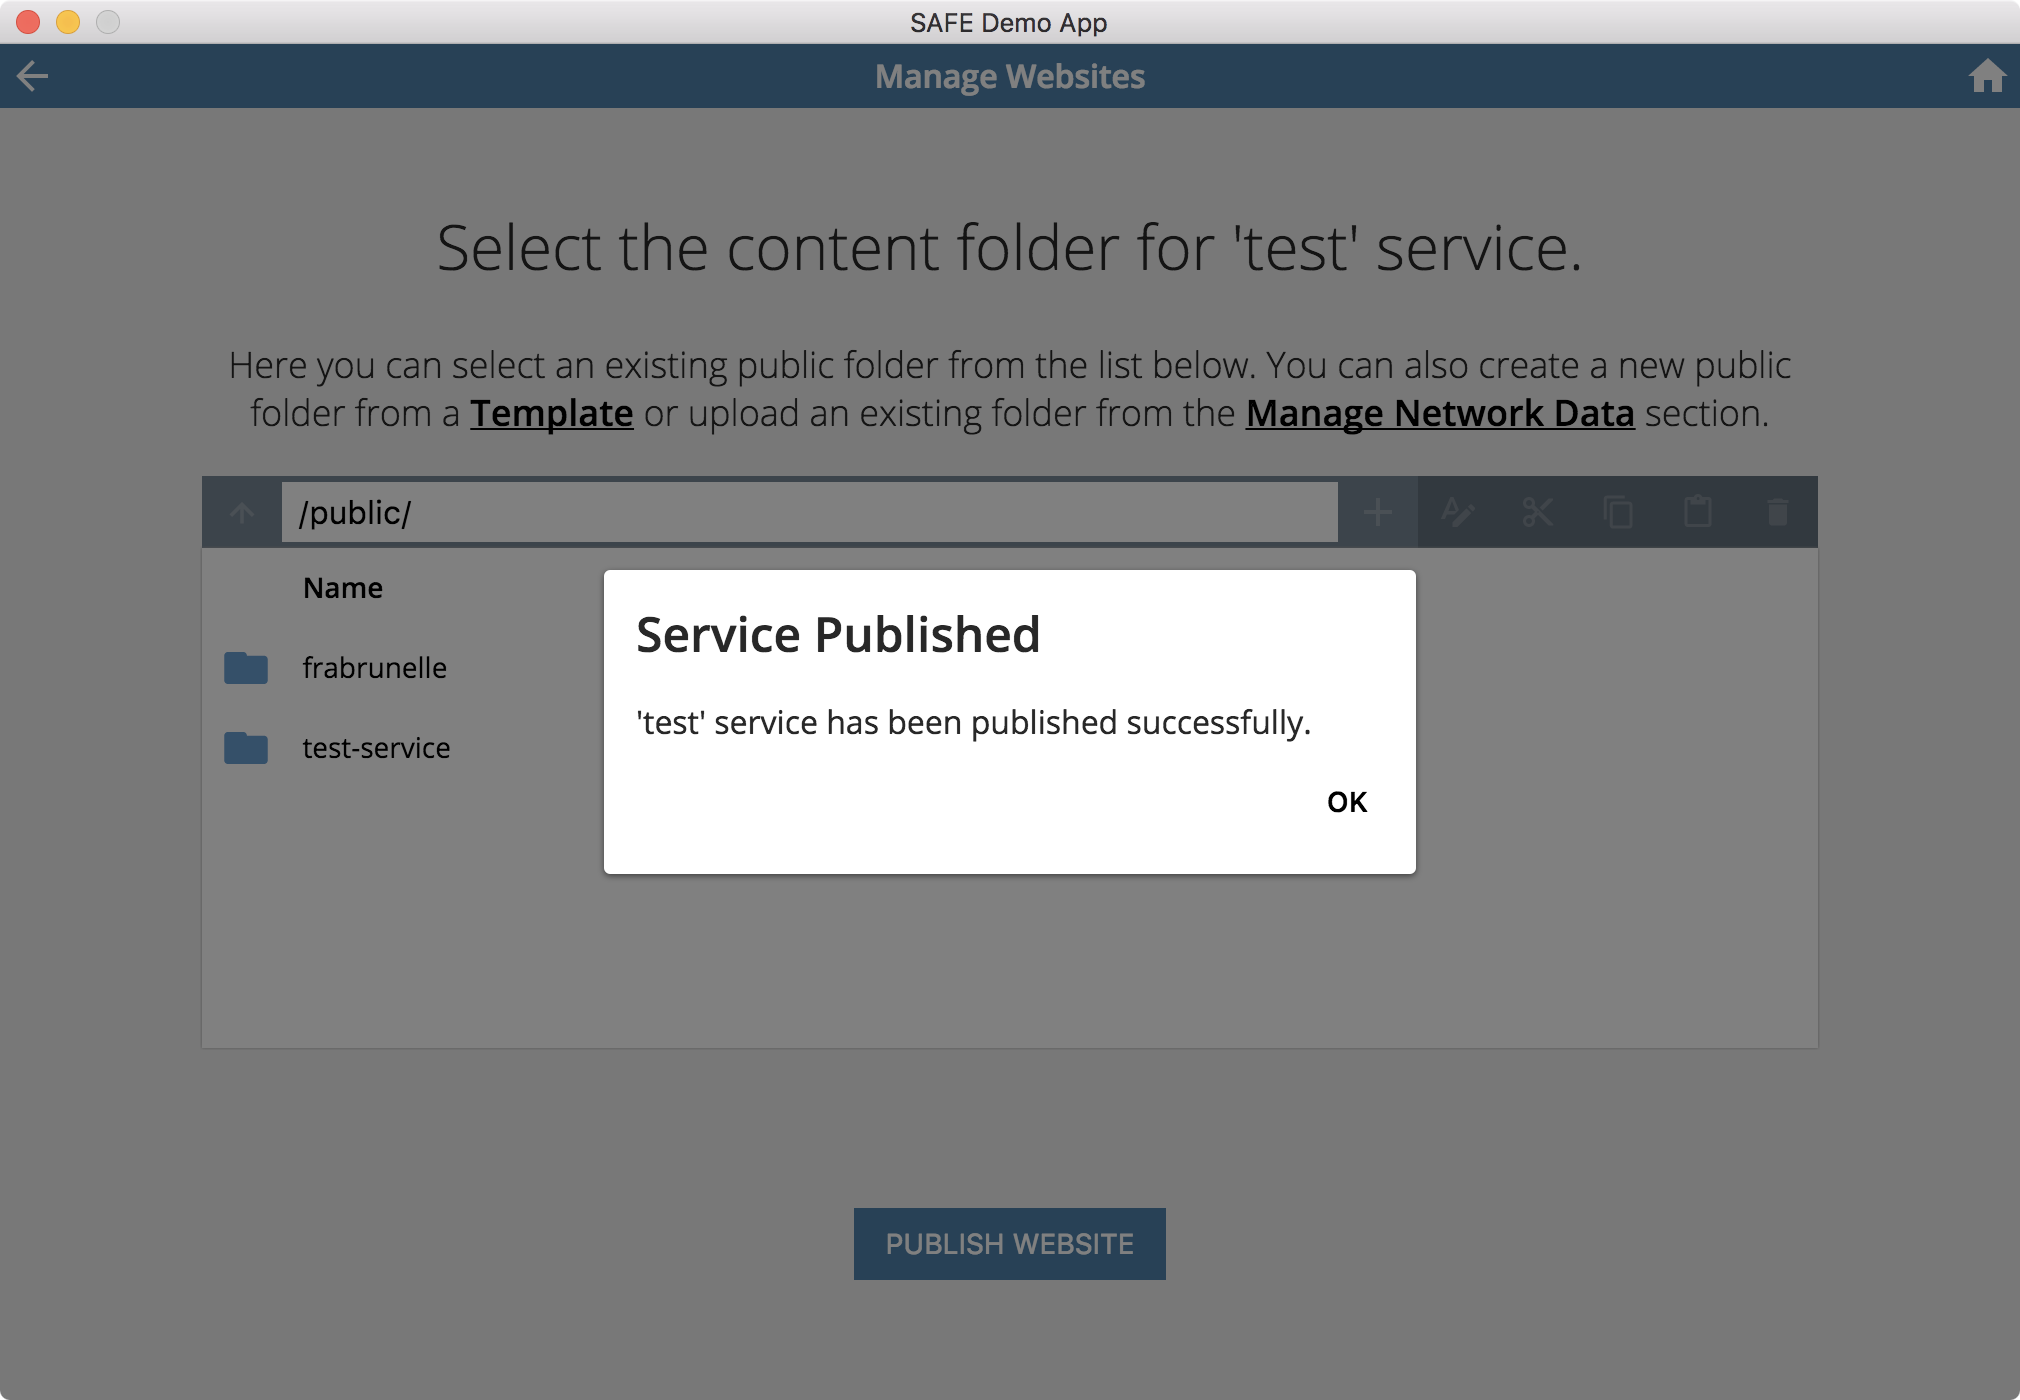
Successfully Published!
Your SAFE website is now publicly available to other SAFE Network users.
Manage Services
Create, edit, remap and view services you have tied into your Public ID.
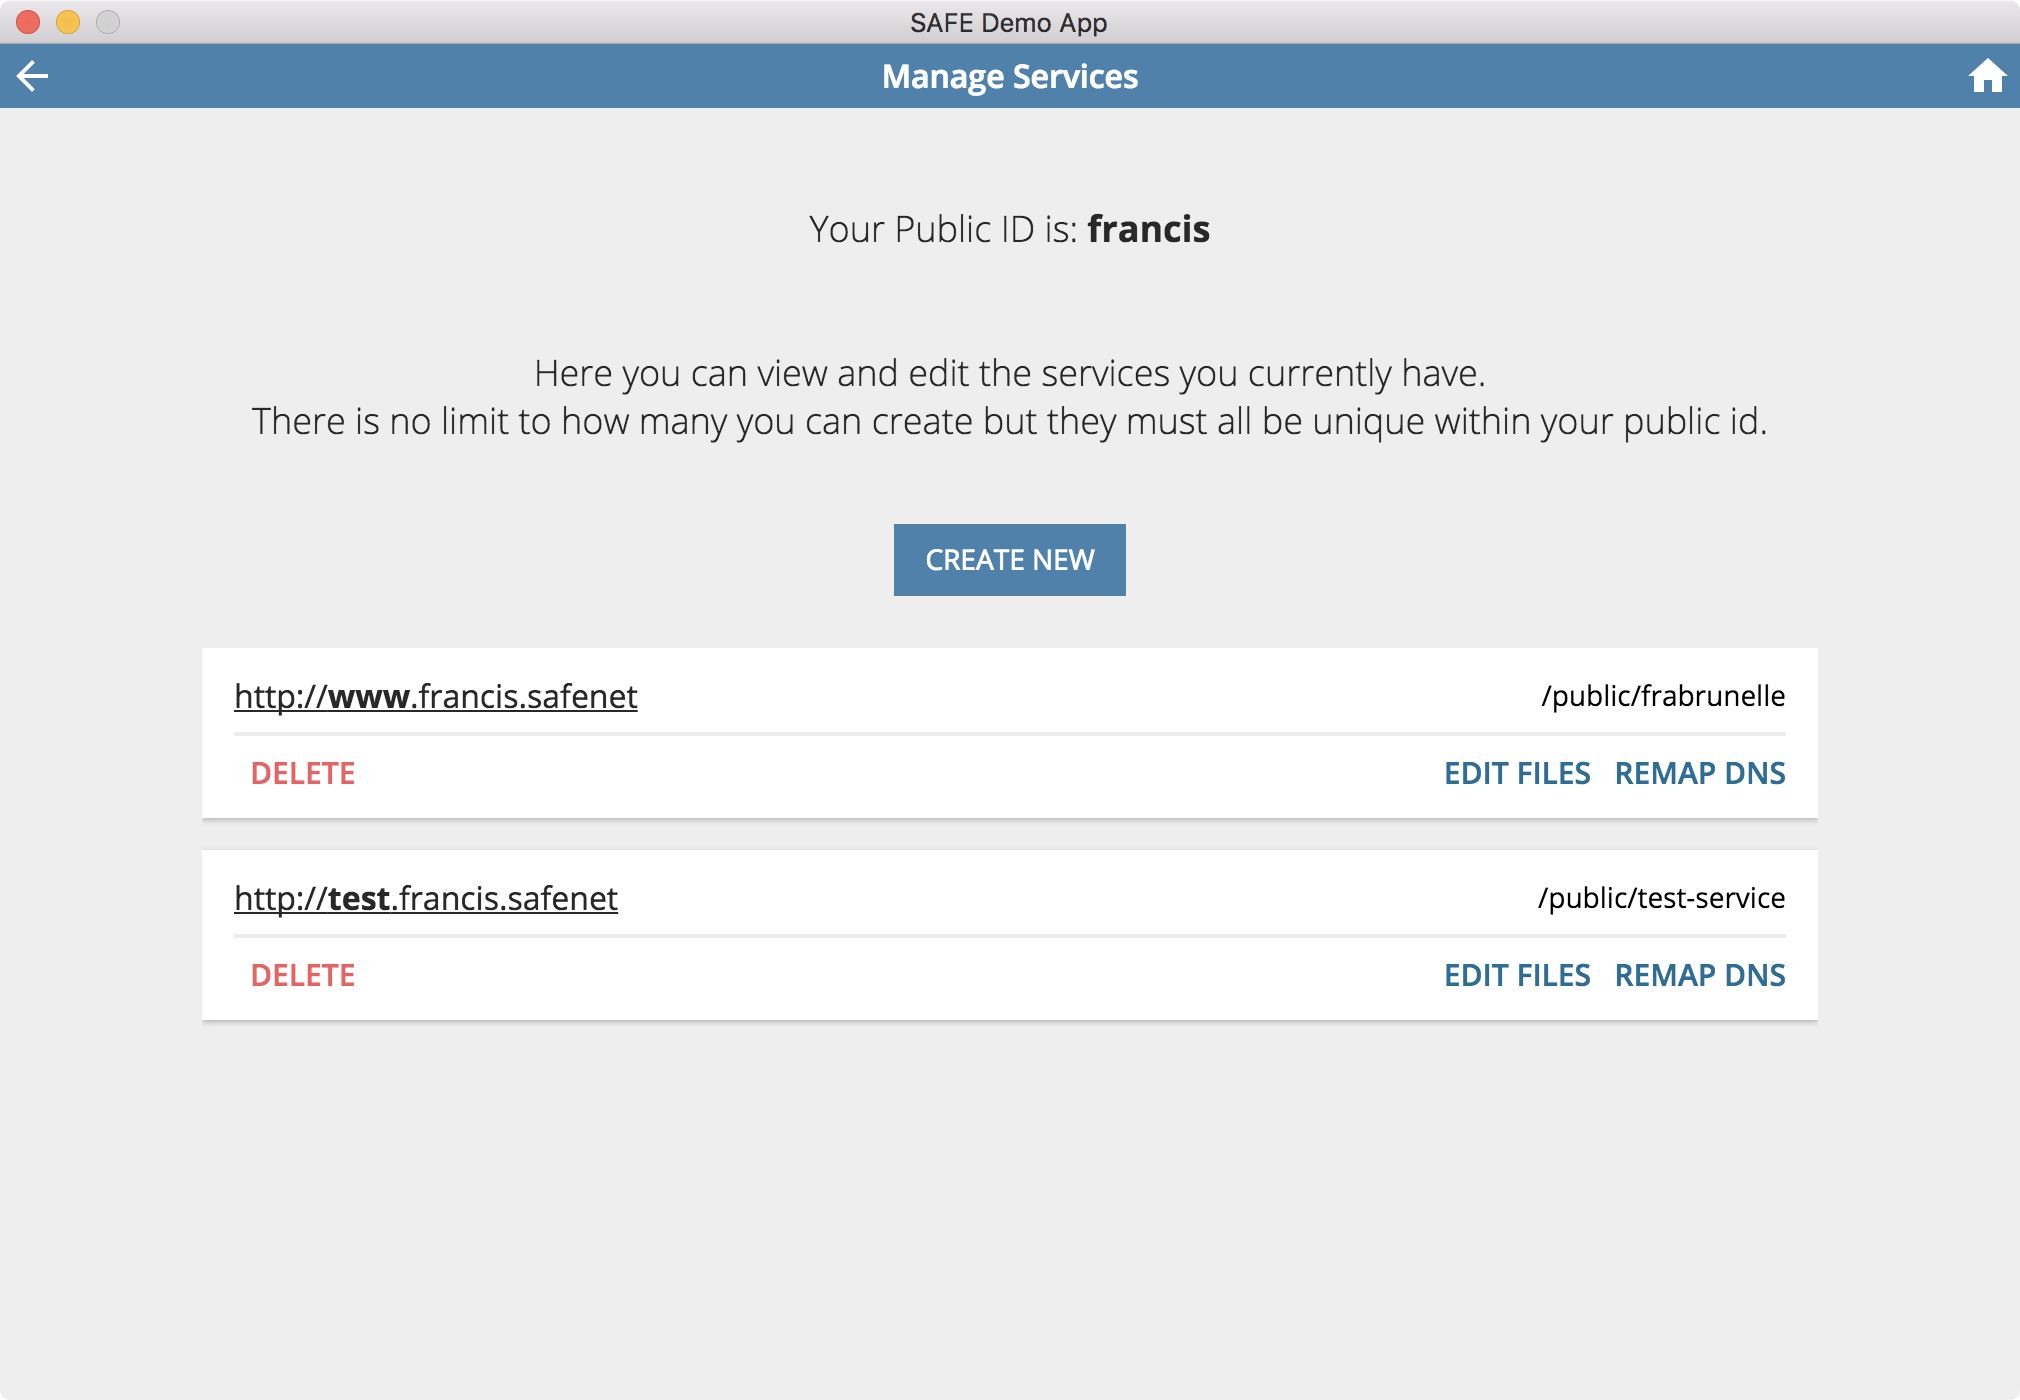
Each service associated with your Public ID forms a URL that can be used to view your SAFE website in a browser.
Remember to set the proxy with the .pac file to view your SAFE website
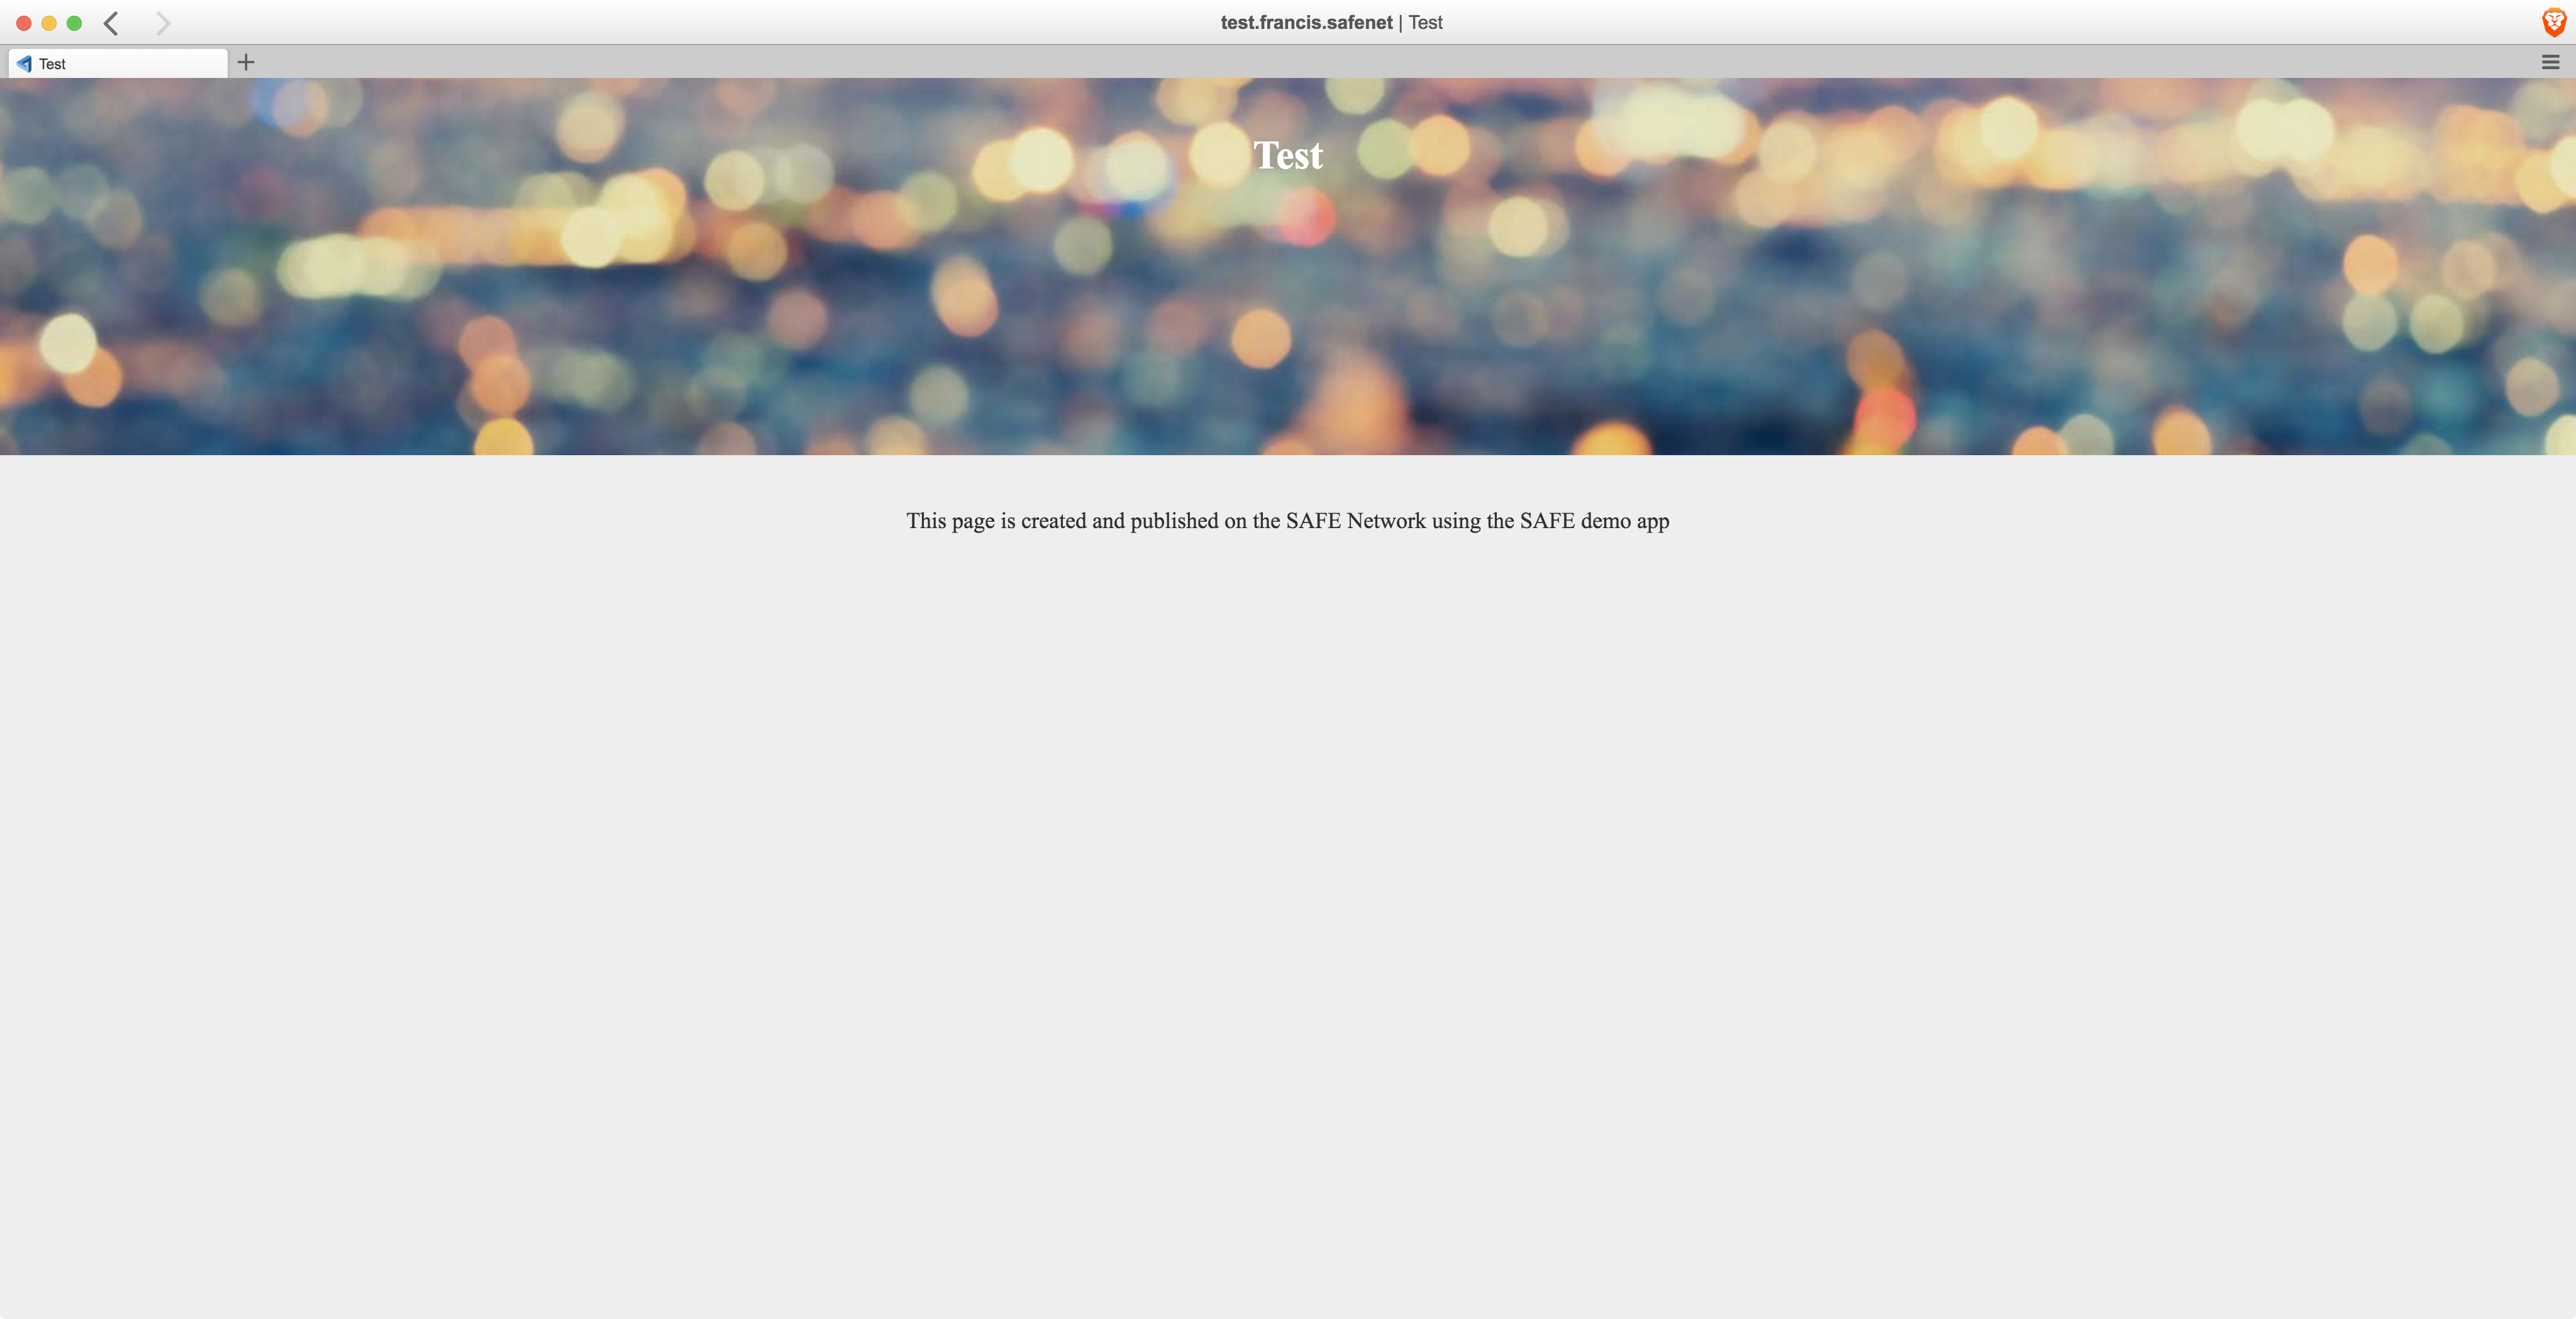
You have now completed the SAFE Demo App walk through.
Keep a look out on the SAFE Network Forum to see what exciting demo sites folks create and of course shout about your own!
